Learn how to optimize images and PDFs with our compression tools, plus resize, enhance, and color grade your photos. JPEG and WebP image compression runs locally in your browser; PDF Compressor Pro processes documents entirely on your device as well.
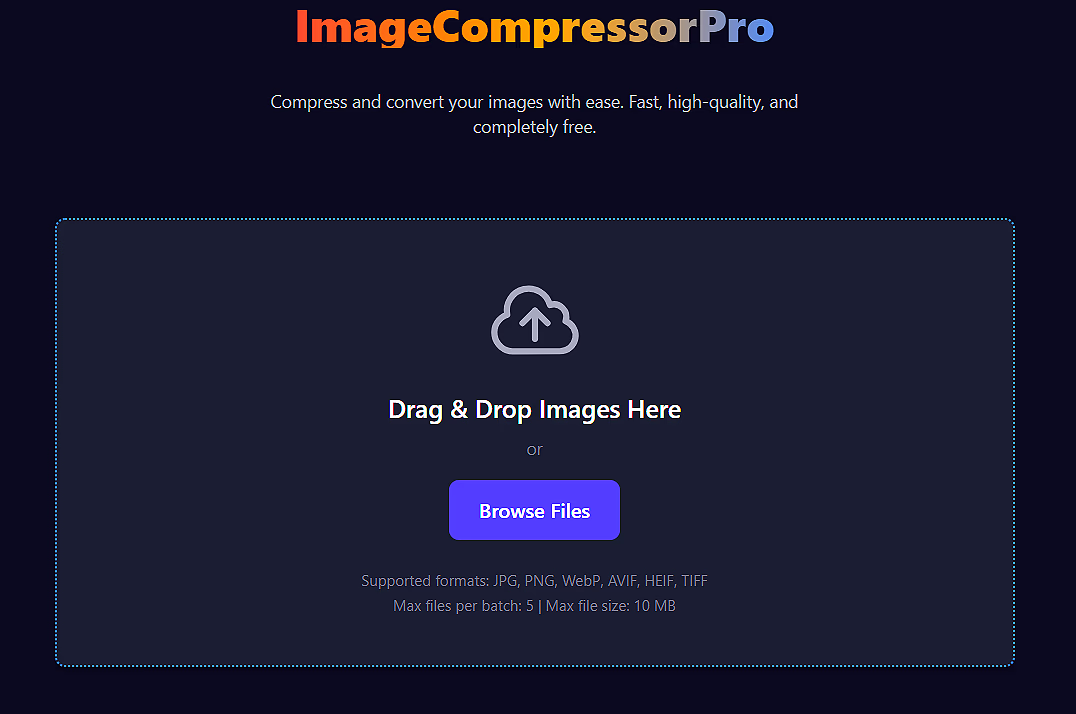
Get started with Image Compressor Pro in just a few simple steps:
Select Image Compressor Pro for photos, PDF Compressor Pro for documents, or Resizer Pro for cropping and resizing images.
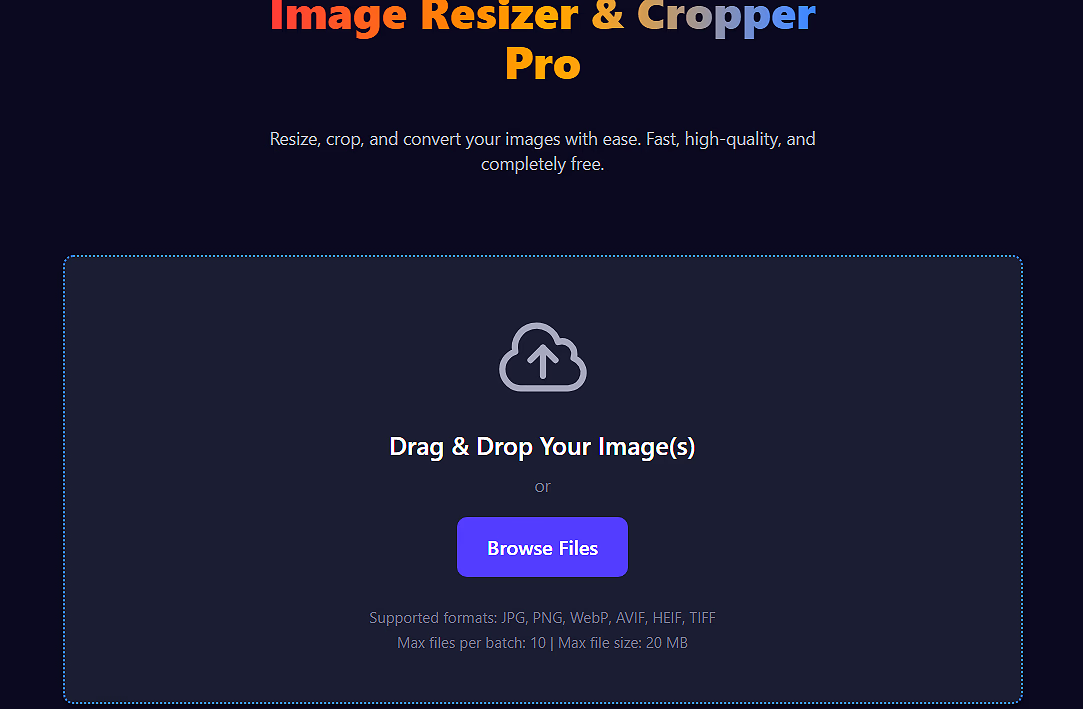
Drag and drop your images onto the upload area or click to browse your files. Supported formats include JPG, PNG, WebP, AVIF, HEIF and TIFF.
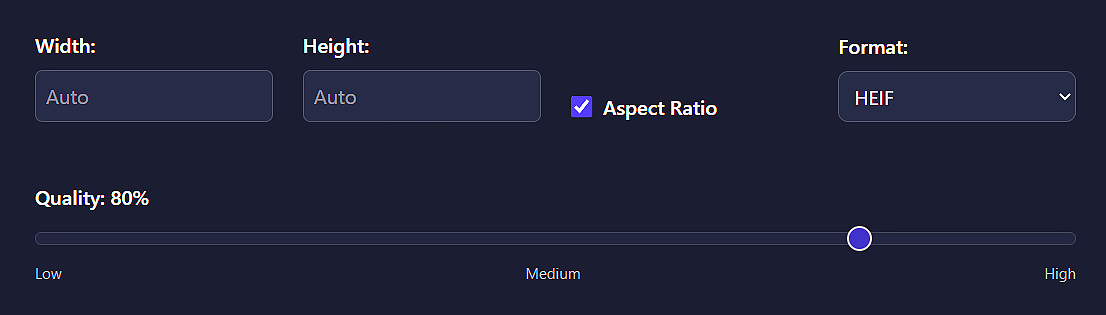
Use the intuitive controls to customize compression, dimensions, quality, and output format.
Click the process button and download your optimized images individually or as a ZIP archive.
Reduce image file sizes without noticeable quality loss. Perfect for web optimization, email attachments, and storage savings.
Process up to 10 images simultaneously with our efficient batch compression system.
Adjust compression level with a simple slider (1-100) to find the perfect balance between quality and file size.
Convert between JPG, PNG, WebP, AVIF, HEIF and TIFF formats with a single click.
For larger files, our backend server handles the heavy lifting when available.
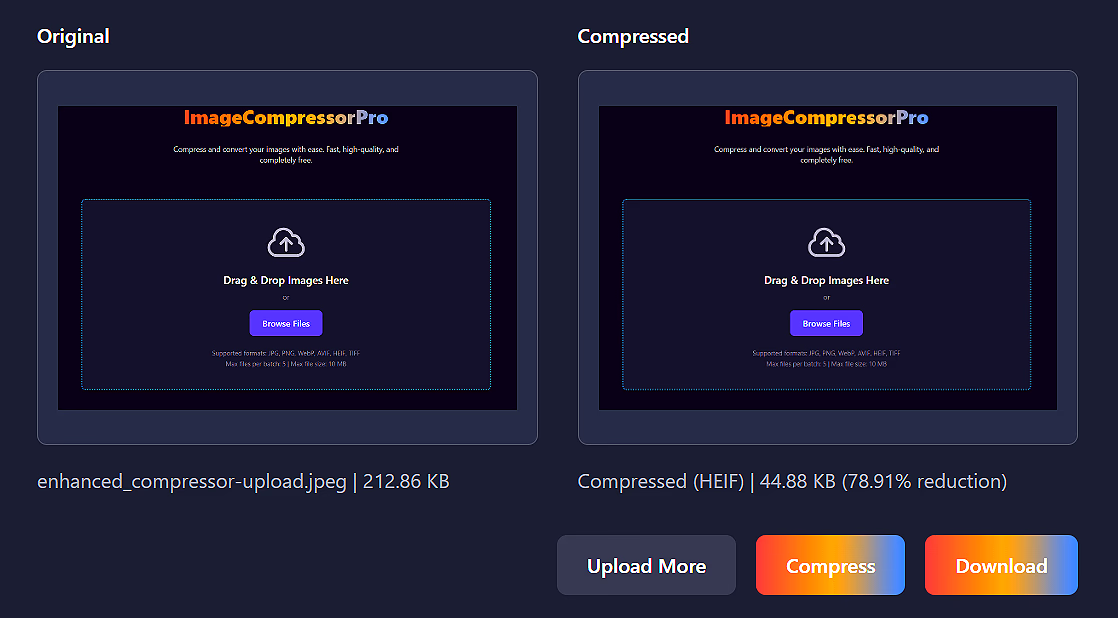
Visual comparison of original and compressed versions with file size savings.
Download all processed images as a single ZIP archive for convenience.
Drag and drop your images onto the upload area or click "Browse Files". You can upload up to 10 images at once (max 10MB each batch).
Click on any individual thumbnail in the left panel to select it for processing or do not select any for batch compression. The selected image will be highlighted.
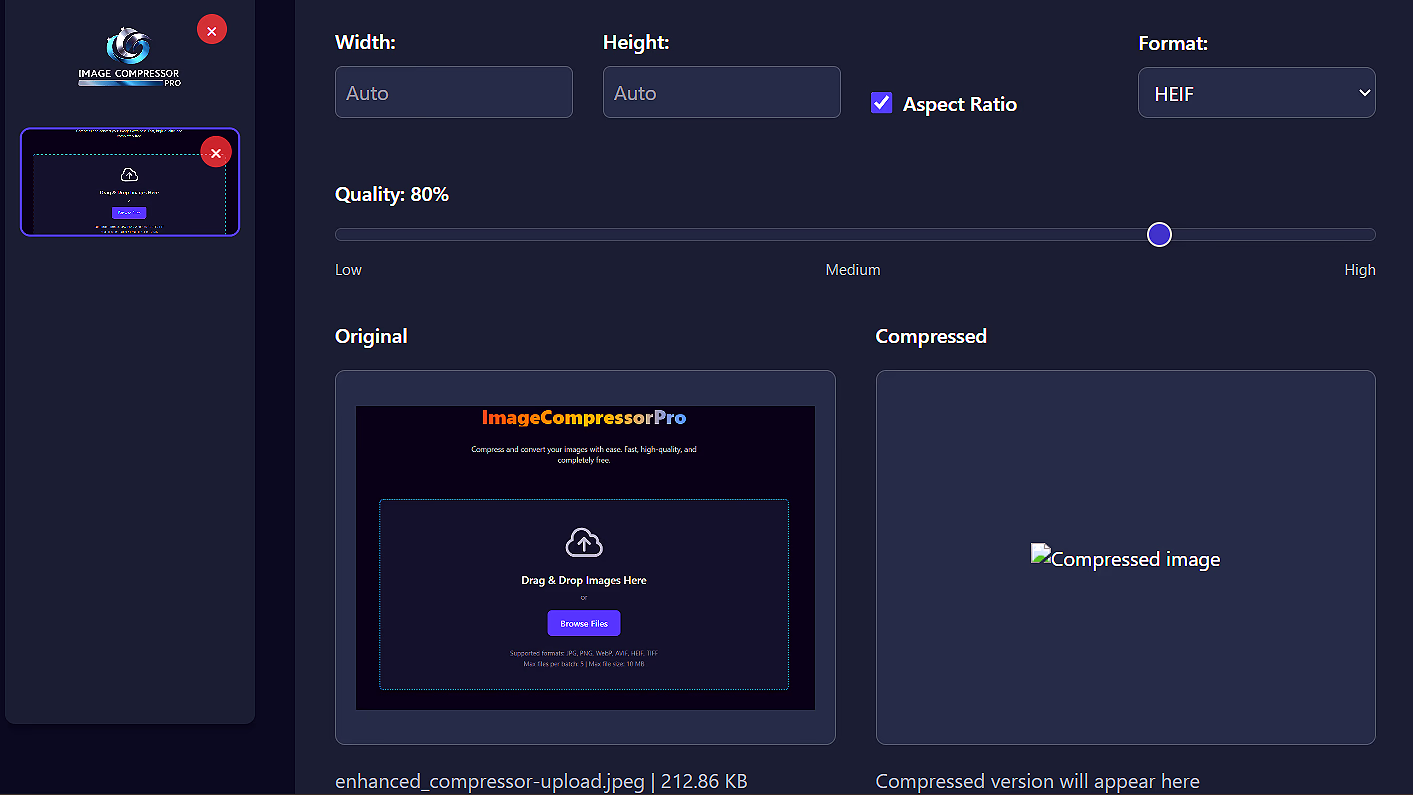
Use the controls panel to customize:
Click "Compress" to process the selected image or "Compress All" to batch process all uploaded images.

Download individual images or get all processed files in a ZIP archive. The interface shows file size savings for each image.
Ready to compress your images?
Open Image Compressor ProShrink PDF files up to 200 MB for email, cloud storage, and upload portals — without flattening searchable text. The hybrid engine preserves typed pages, optimizes scans and embedded photos, and runs entirely in your browser.
Pages with embedded text stay selectable and copyable. Scanned or image-only pages are compressed at your chosen DPI and JPEG quality.
Light, Medium, High, and Maximum — each pairing a target DPI (150 down to 72) with JPEG quality (85% down to 40%).
Remove color data from scanned pages and embedded images for extra savings on monochrome documents.
Your PDF is read from your device, processed in memory, and offered for download — never uploaded to a server.
Photos and illustrations inside text PDFs are individually recompressed with Lanczos3 resampling — only when the result is genuinely smaller.
Instant size comparison with a page 1 preview so you can verify quality before downloading.
Unlike tools that rasterize every page into flat JPEGs, PDF Compressor Pro inspects each page before compressing:
Drag and drop a PDF onto the upload zone or click to browse. Files up to 200 MB are supported. The tool shows the file name, size, and page count once loaded.
Select the balance of quality and file size that fits your use case:
Optionally enable Convert to grayscale for scanned receipts, invoices, or other black-and-white documents.
Click Compress PDF. A progress bar shows completion percentage and the current processing step. You can cancel at any time if needed. Large PDFs (200+ pages) may take longer and use more browser memory.
Compare original and compressed file sizes with a visual bar chart and percentage reduction. A side-by-side preview of page 1 helps you check quality. If the compressed file is larger than the original — common with text-heavy or already-optimized PDFs — a warning appears with guidance.
Click Download Compressed PDF to save the file (named yourfile_compressed.pdf). Use Compress Another to process a different document without reloading the page.
Yes. There is no subscription, watermark, or account required. Compress as many PDFs as you need, up to 200 MB per file.
No. Compression runs entirely in your web browser using JavaScript. Your PDF is read from your device, processed in memory, and offered for download — it is never transmitted to ToolBoxesAI or any third party.
Yes, on pages that already contain embedded text. Only image-only or scanned pages are rasterized, which is expected since those pages have no underlying text layer to preserve.
This can happen with text-heavy or already-optimized PDFs where there is little image data to shrink. Try a higher compression level, or keep the original file.
Ready to compress your PDF?
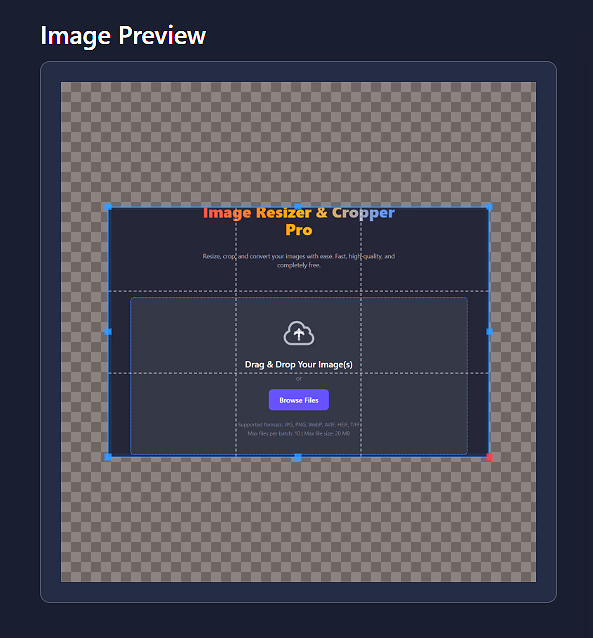
Open PDF Compressor ProAdvanced client-side tool for cropping, resizing, and converting images with pixel-perfect accuracy.
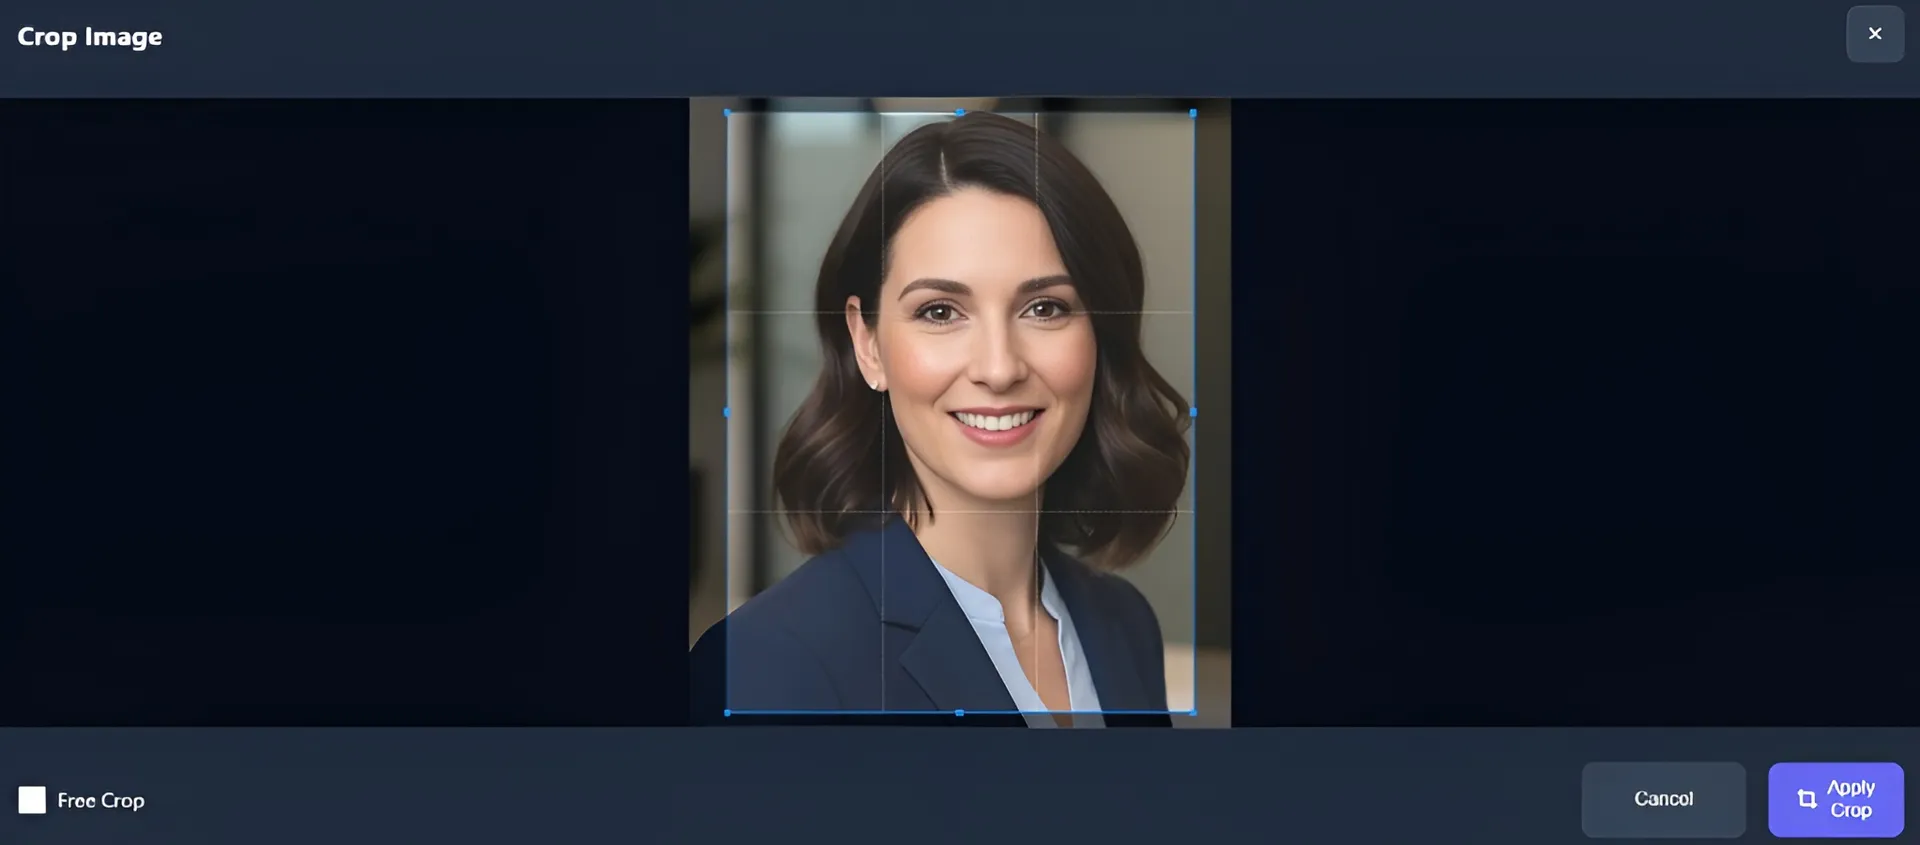
Drag to select crop areas with real-time preview. Adjust edges with precision handles.
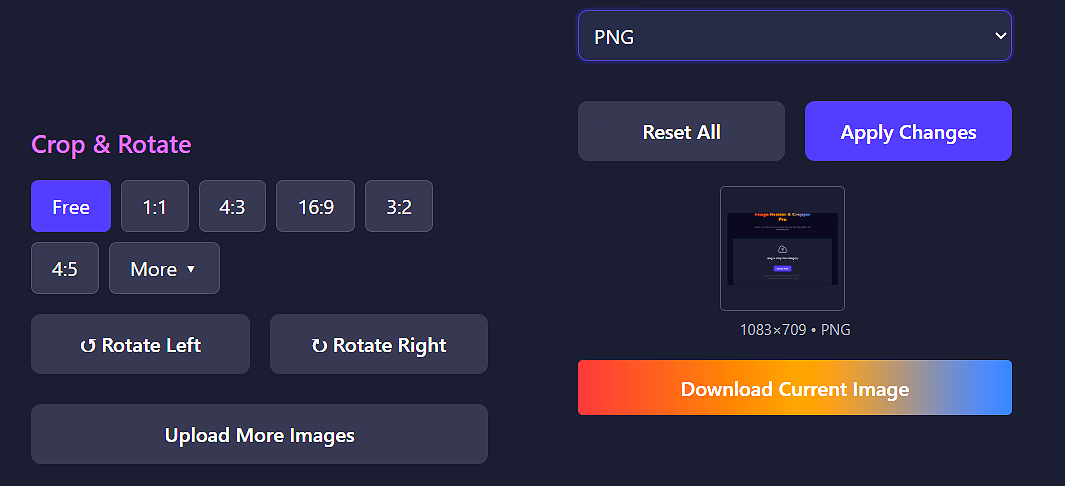
Common ratios like 1:1 (square), 4:3, 16:9, and more with one click.
Rotate images 90° left or right with dedicated buttons.
Automatically corrects orientation from camera metadata.
Uses Pica.js for superior resizing quality with sharpening controls.
All processing happens in your browser - no images are uploaded to servers.
Drag and drop your image(s) onto the upload area or click "Browse Files". You can process multiple images sequentially.
Click on any thumbnail in the left panel to select it for editing. The selected image will be highlighted.
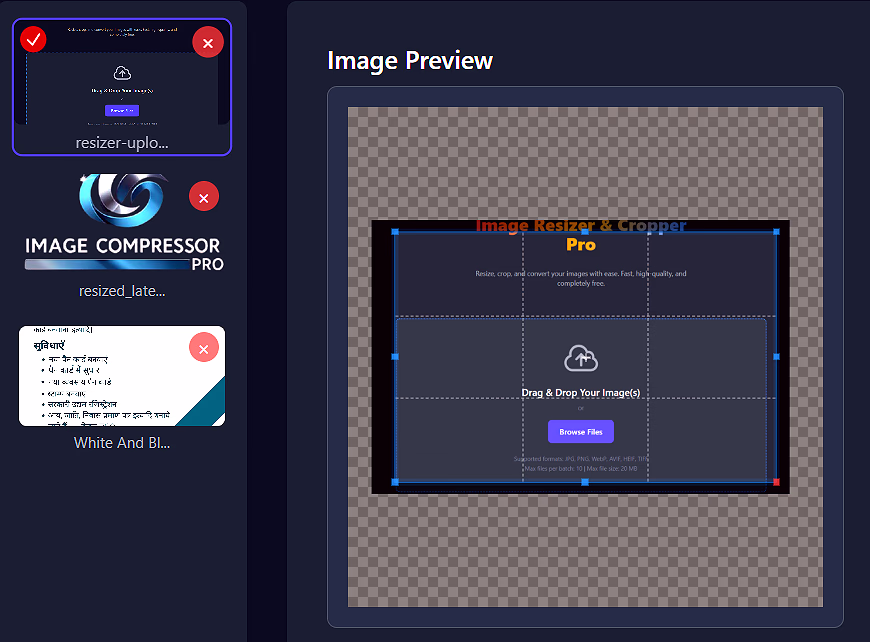
Use the interactive crop tool:
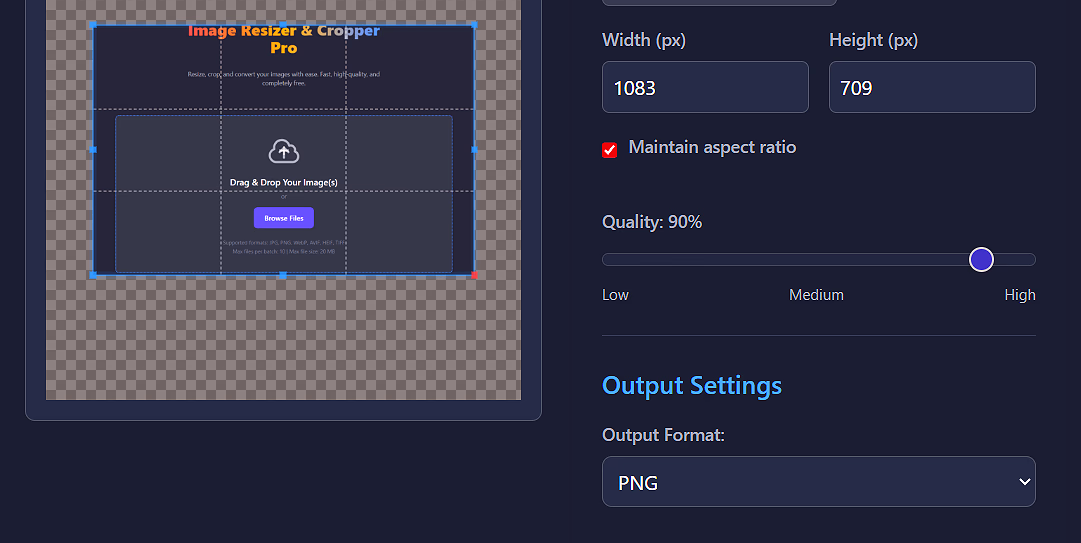
Enter exact width/height in pixels or leave blank to keep proportions. The preview updates in real-time.
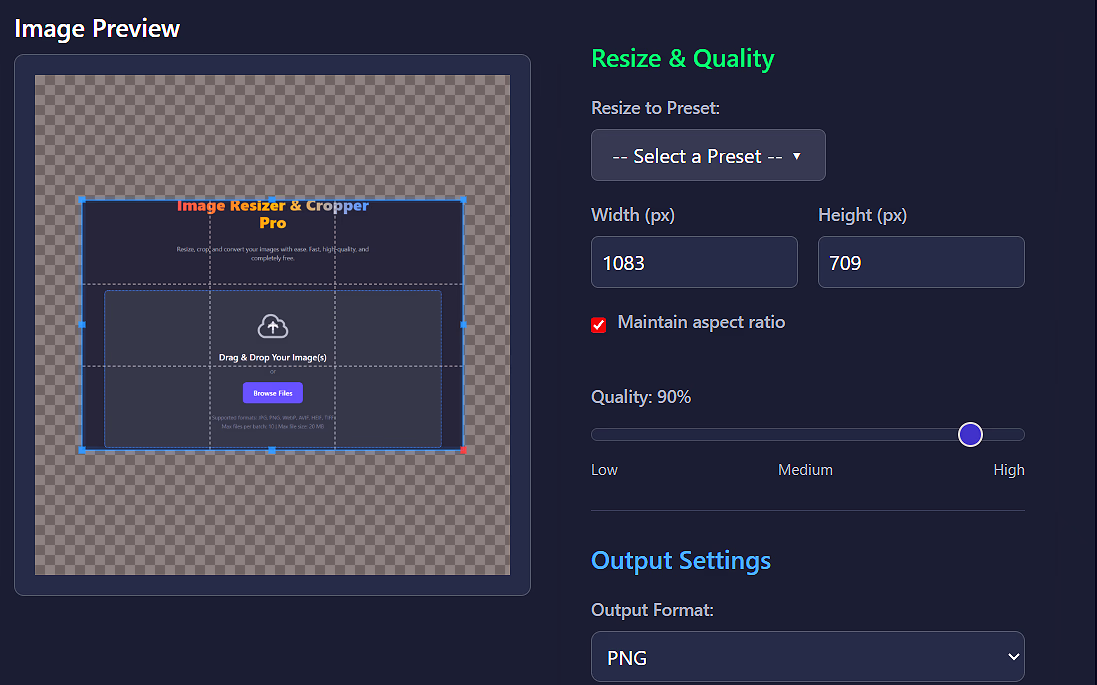
Use the quality slider (1-100) and select your preferred output format (JPEG, PNG, WebP, etc.).
Click "Apply Changes" to process the image, then download individually or get all processed images in a ZIP file.
Ready to resize and crop your images?
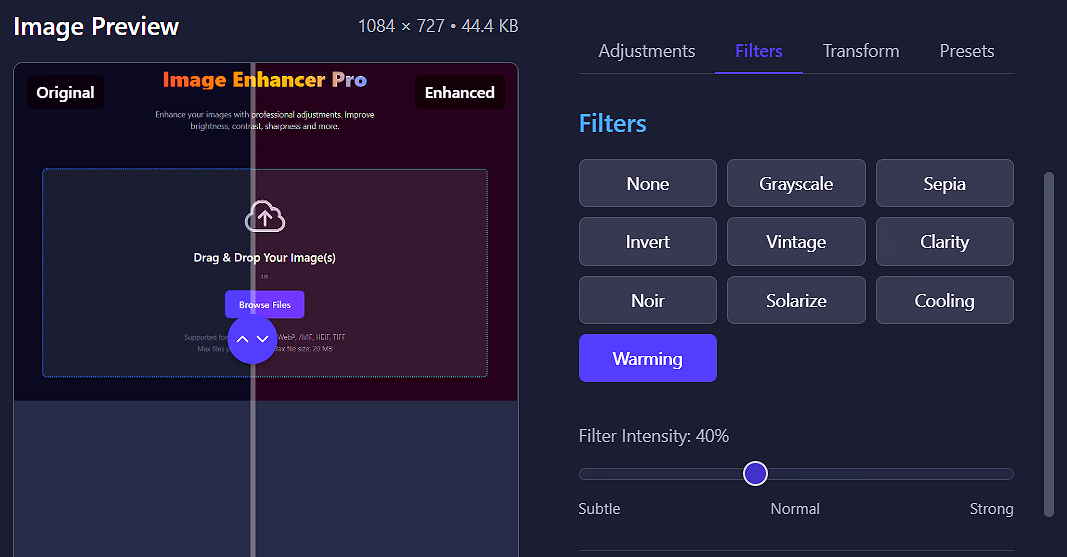
Open Resizer ProTransform your images with advanced adjustments for brightness, contrast, saturation, sharpness, and more. Apply professional filters and presets with real-time preview.
Interactive slider to compare original and enhanced versions side by side.
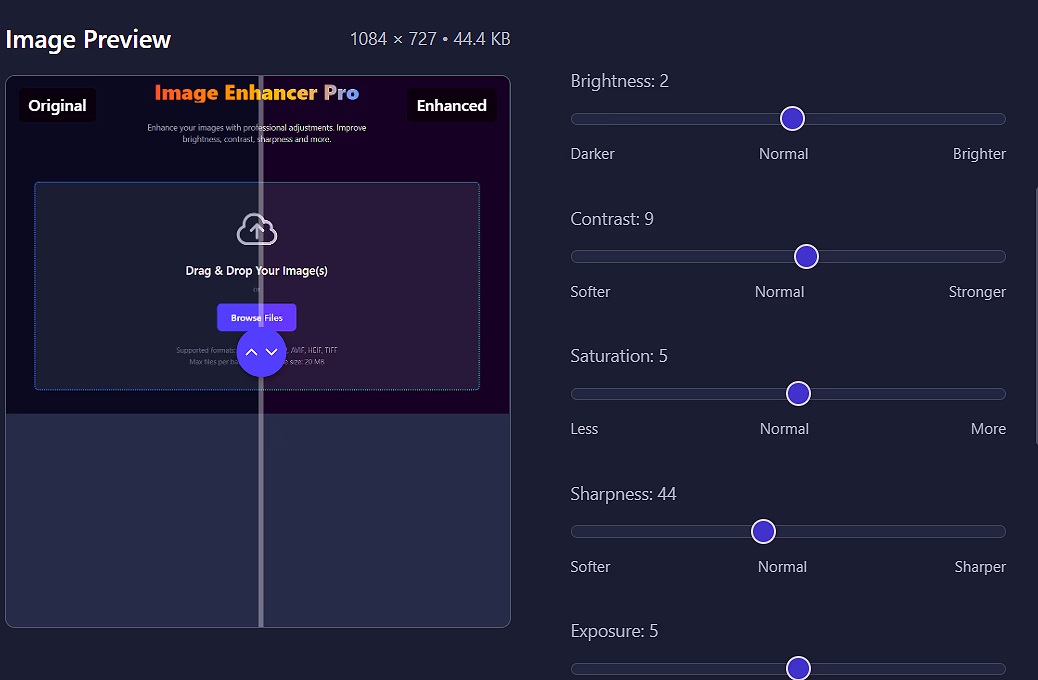
Fine-tune brightness, contrast, saturation, sharpness, exposure, vibrance, and temperature.
Apply effects like grayscale, sepia, vintage, noir, solarize, and more with adjustable intensity.
One-click presets for vibrant, dramatic, warm, cool, cinematic, portrait, and other styles.
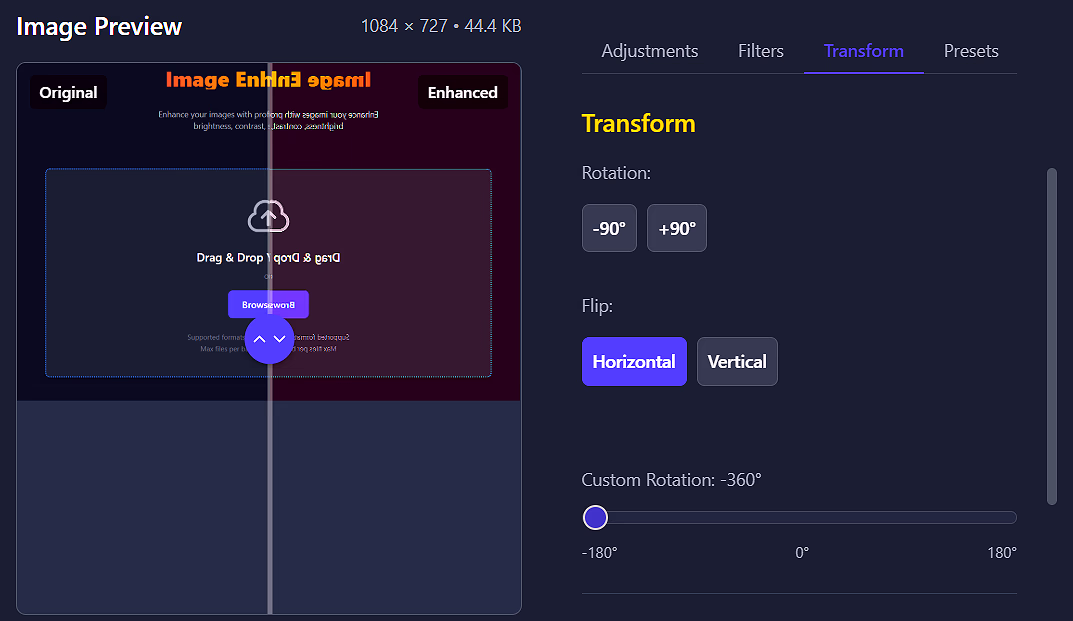
Rotate, flip, and customize image orientation with precision controls.
Enhance up to 10 images at once and download as a ZIP archive.
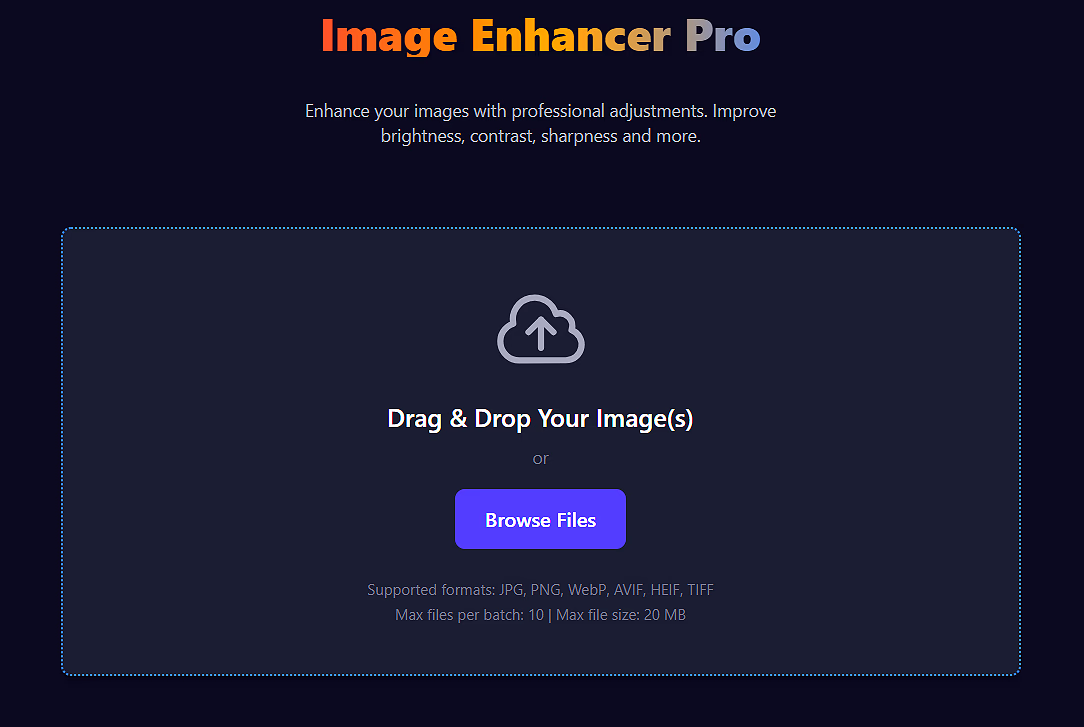
Drag and drop your images onto the upload area or click "Browse Files". You can upload up to 10 images at once (max 20MB each).
Click on any thumbnail in the left panel to select it for enhancement. The selected image will be highlighted.
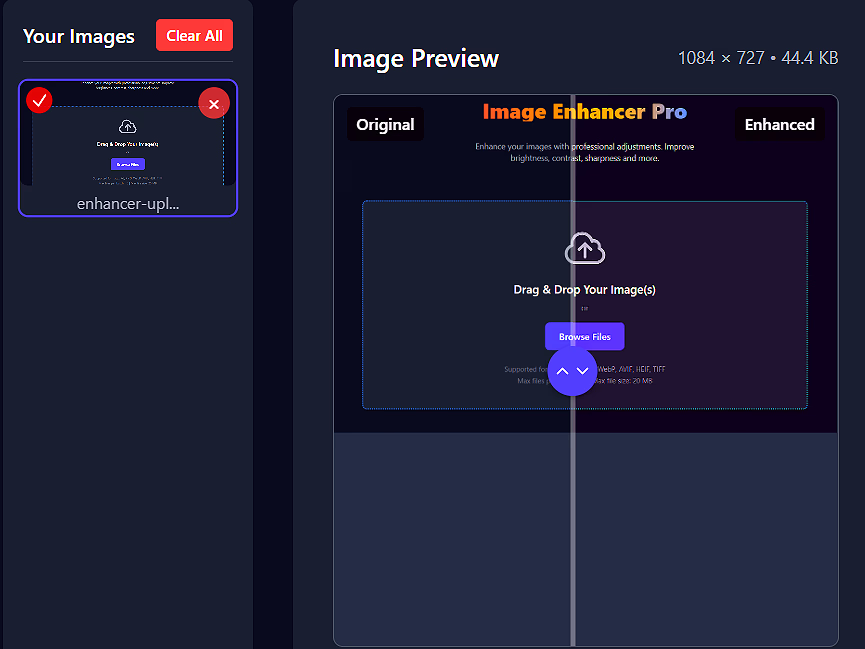
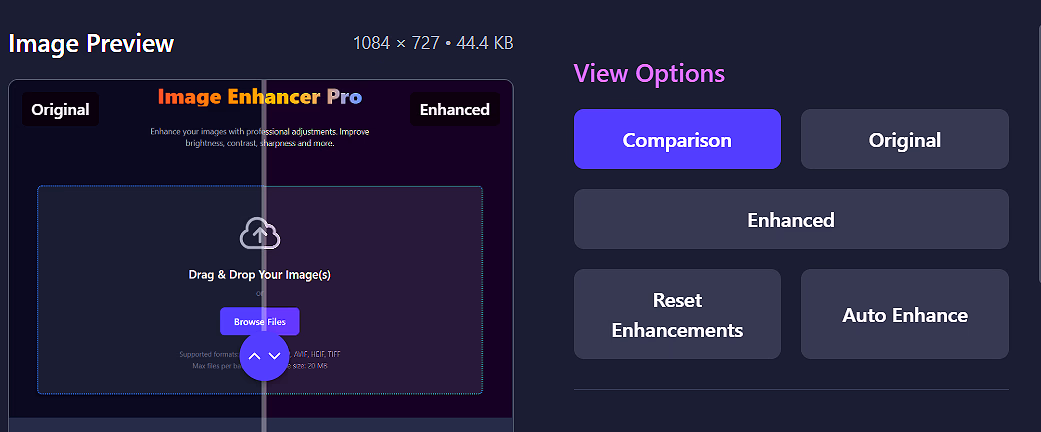
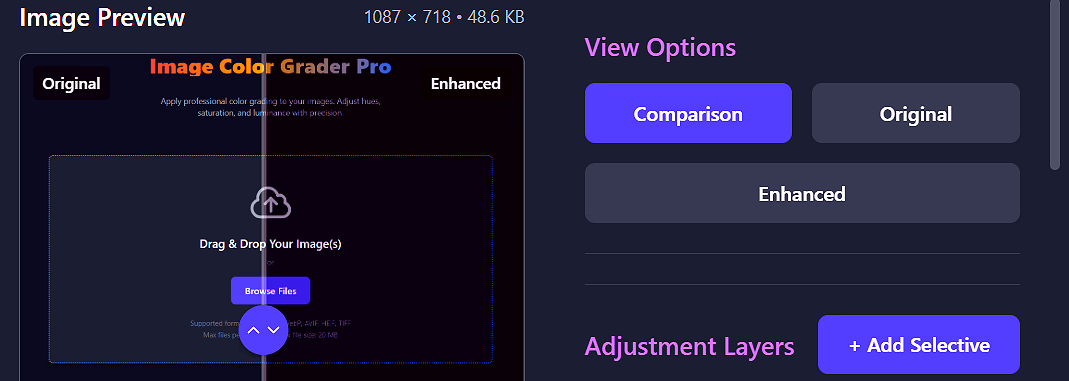
Use the view buttons to switch between comparison view (side-by-side), original only, or enhanced only.
Use the sliders in the Adjustments tab to fine-tune:
Explore the Filters and Presets tabs for quick transformations:
Use the Transform tab to rotate or flip your image as needed.
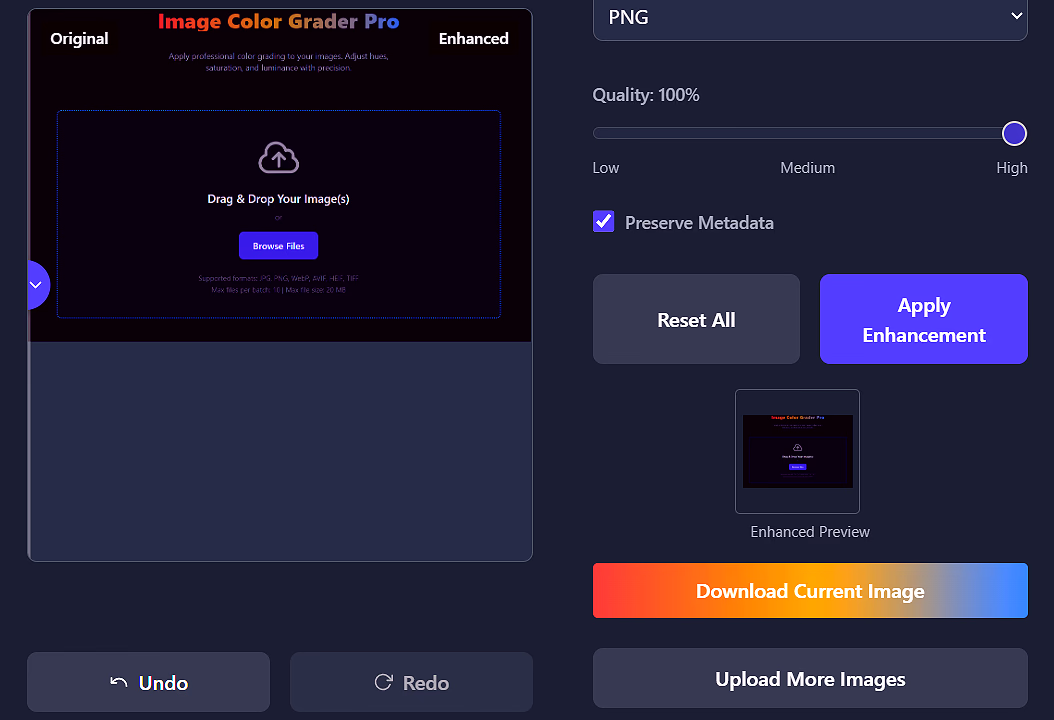
Choose your preferred format and quality setting, then click "Apply Enhancement".
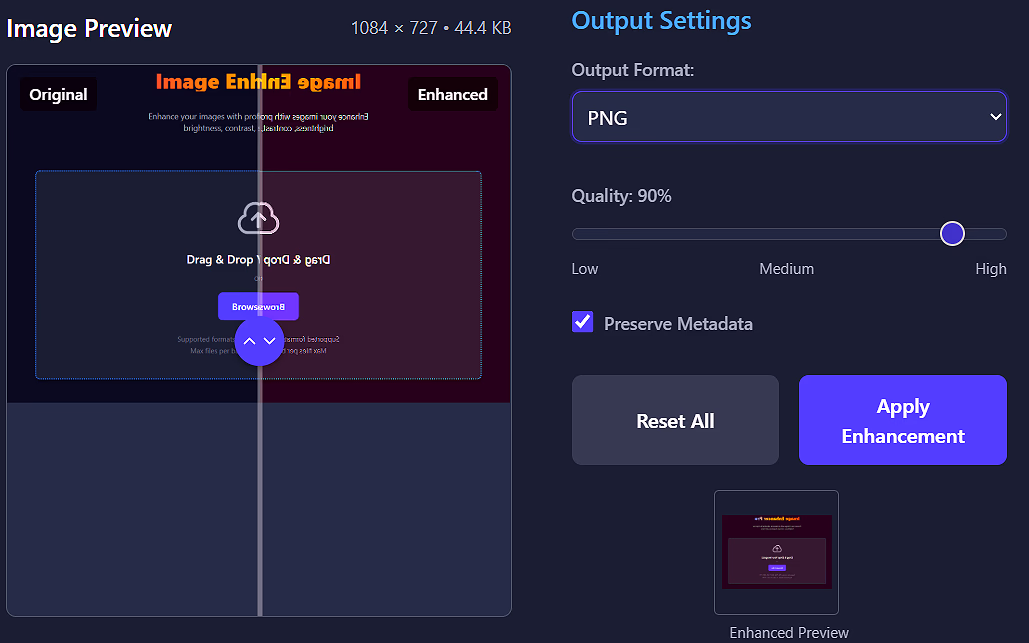
Download individual enhanced images or get all processed files in a ZIP archive.
.heif)
Ctrl+Z and Ctrl+Y for undo/redo actionsEnter to quickly apply enhancementsCtrl+S to quickly download image(s)Ready to enhance your images?
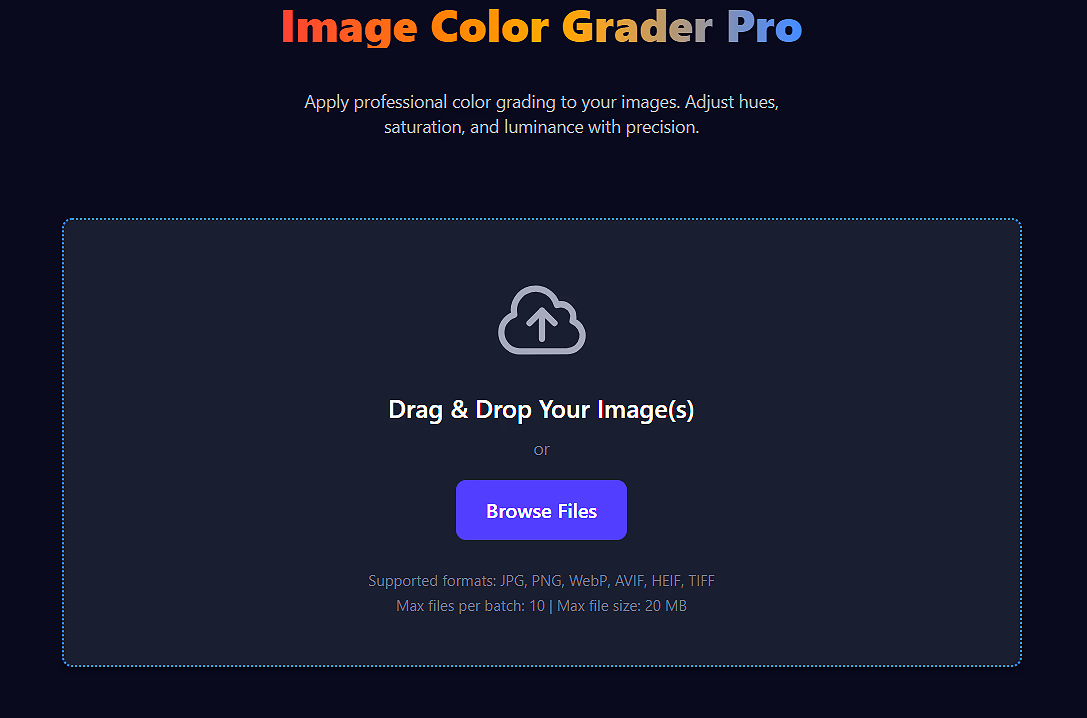
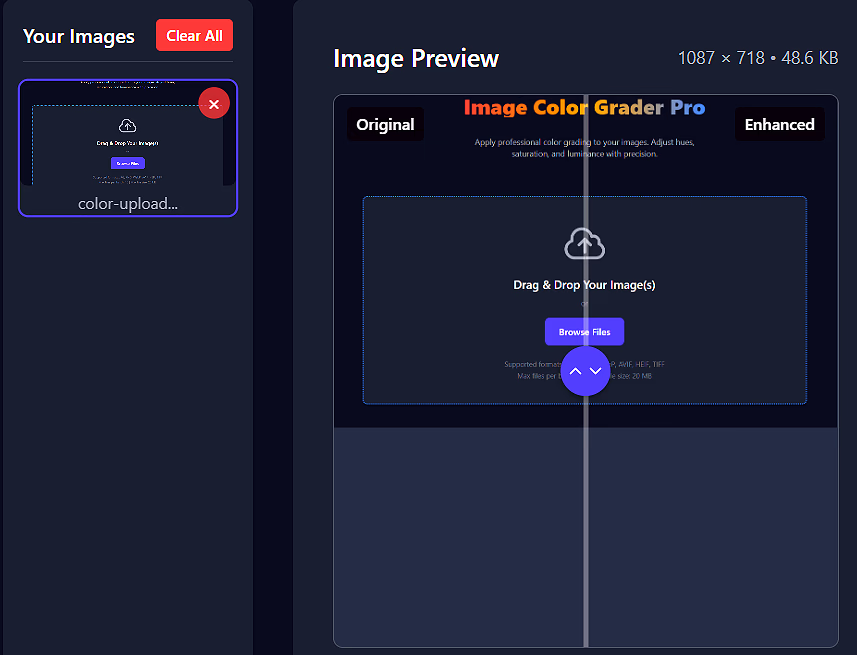
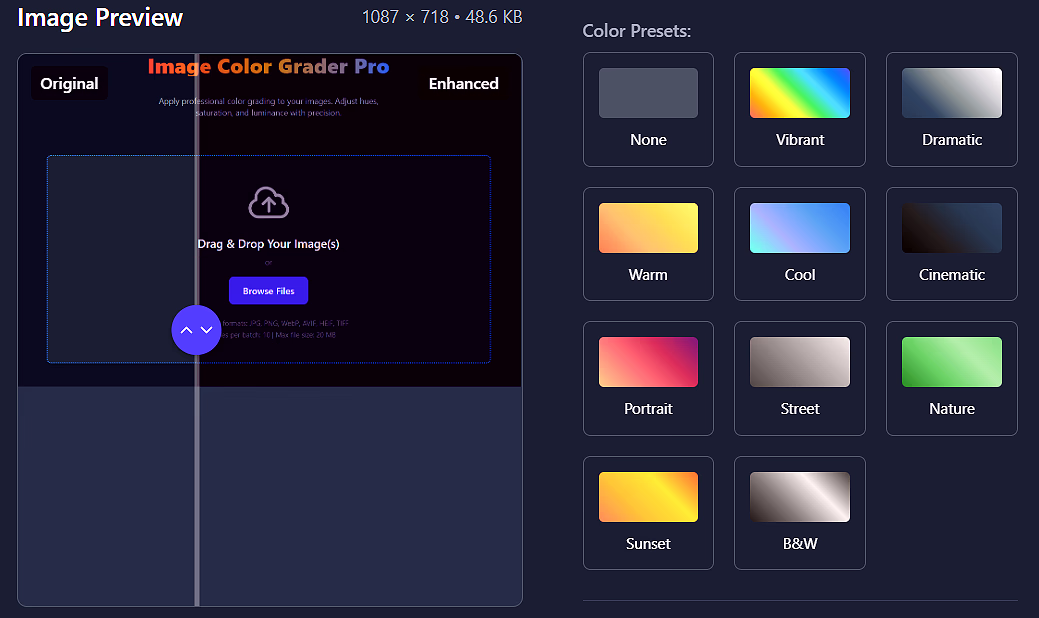
Open Enhancer ProTransform your images with advanced color grading tools. Adjust hues, saturation, and luminance with precision using our layer-based adjustment system.
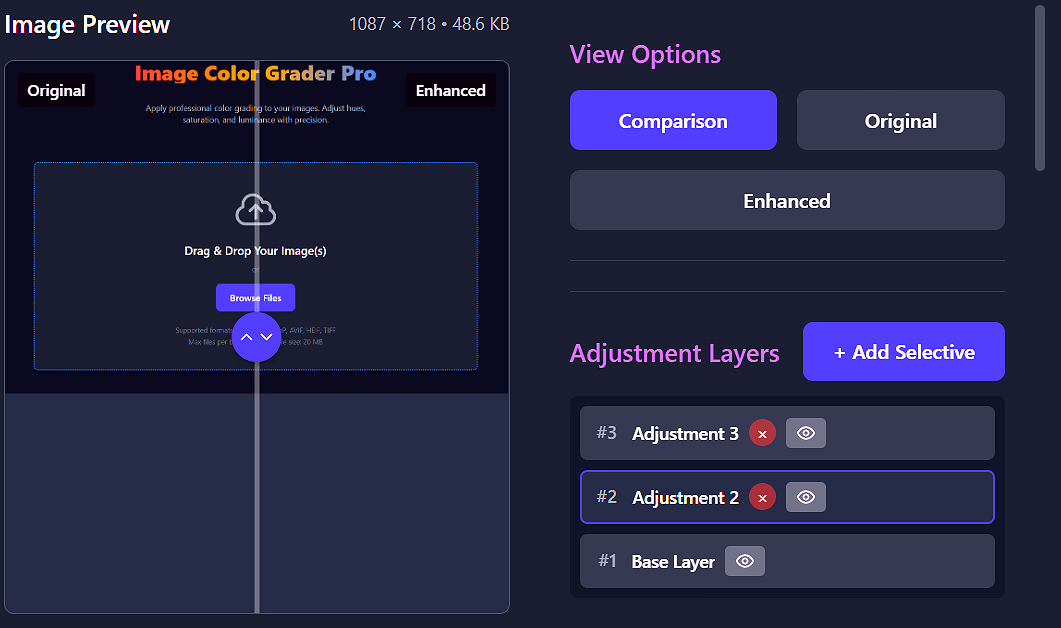
Create multiple adjustment layers with different settings for precise control over your color grading.
Use the interactive color wheel to target specific hues and saturations for selective adjustments.
Fine-tune individual color channels (RGB and CMY) for complete creative control.
Apply adjustments using different blend modes (Normal, Multiply, Screen, Overlay) for professional results.
Interactive slider to compare original and color graded versions side by side.
Apply one-click presets for different styles like Vibrant, Dramatic, Warm, Cool, Cinematic, and more.
Drag and drop your images onto the upload area or click "Browse Files". You can upload up to 10 images at once (max 20MB each).
Click on any thumbnail in the left panel to select it for color grading. The selected image will be highlighted.
Color Grader Pro uses adjustment layers:
The color wheel lets you target specific colors for adjustment:
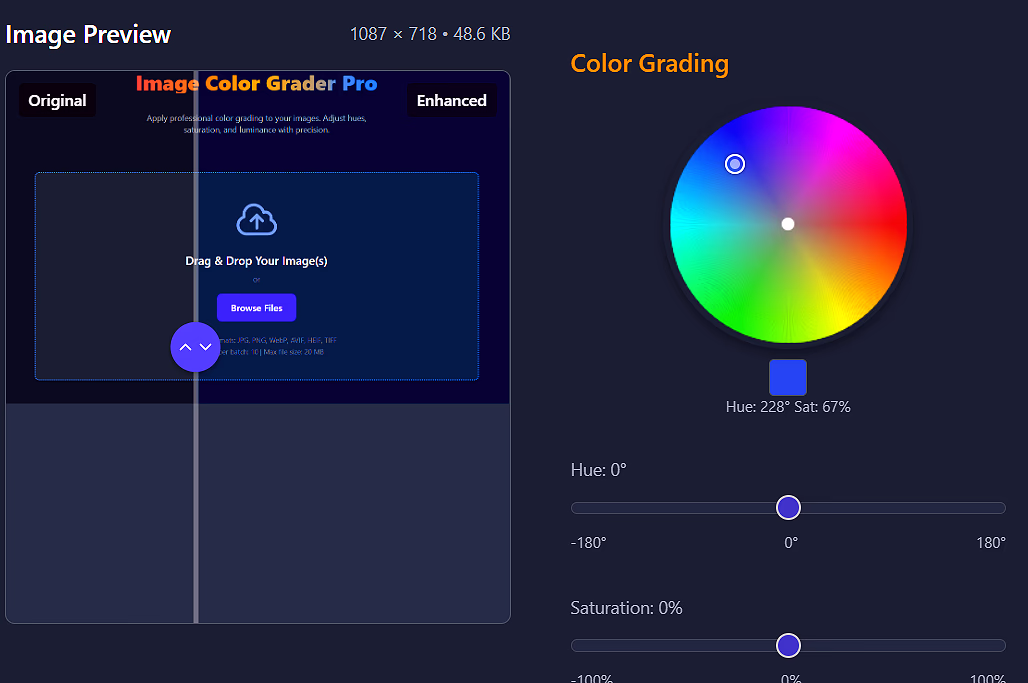
Use the sliders to fine-tune:
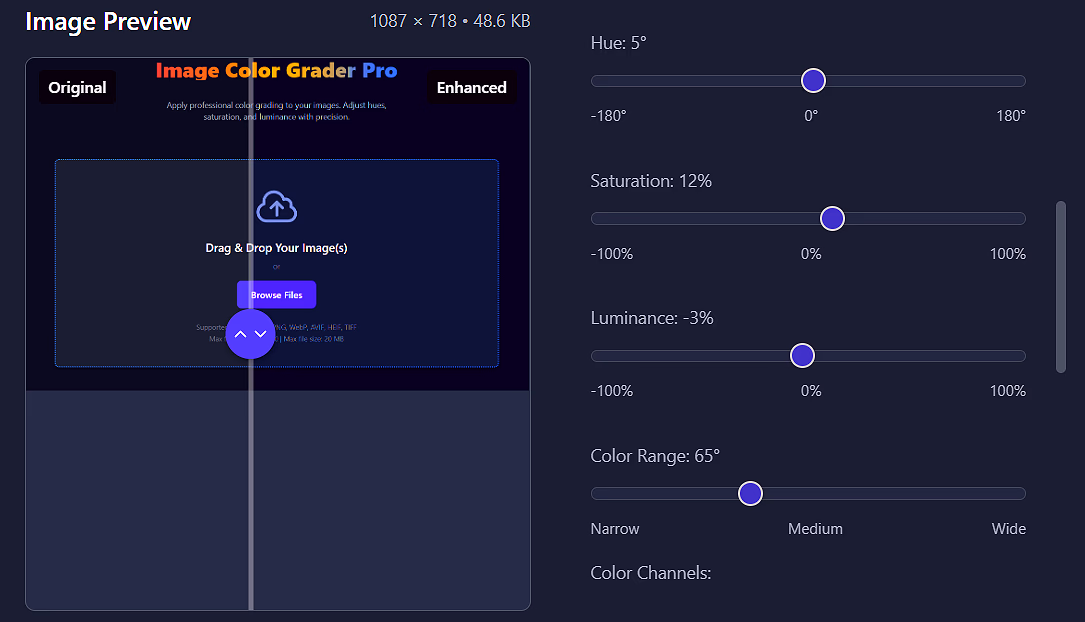
Use the individual channel sliders for precise control:

Control how each layer blends with the layers below:

Use the color presets for quick transformations:
Use the view mode buttons to check your work:
Choose your preferred format and quality setting, then click "Apply Enhancement". Download individual images or get all processed files in a ZIP archive.
Ctrl+Z and Ctrl+Y for undo/redo actionsEnter to quickly apply enhancementsCtrl+S to quickly download the image(s)Ready to color grade your images?
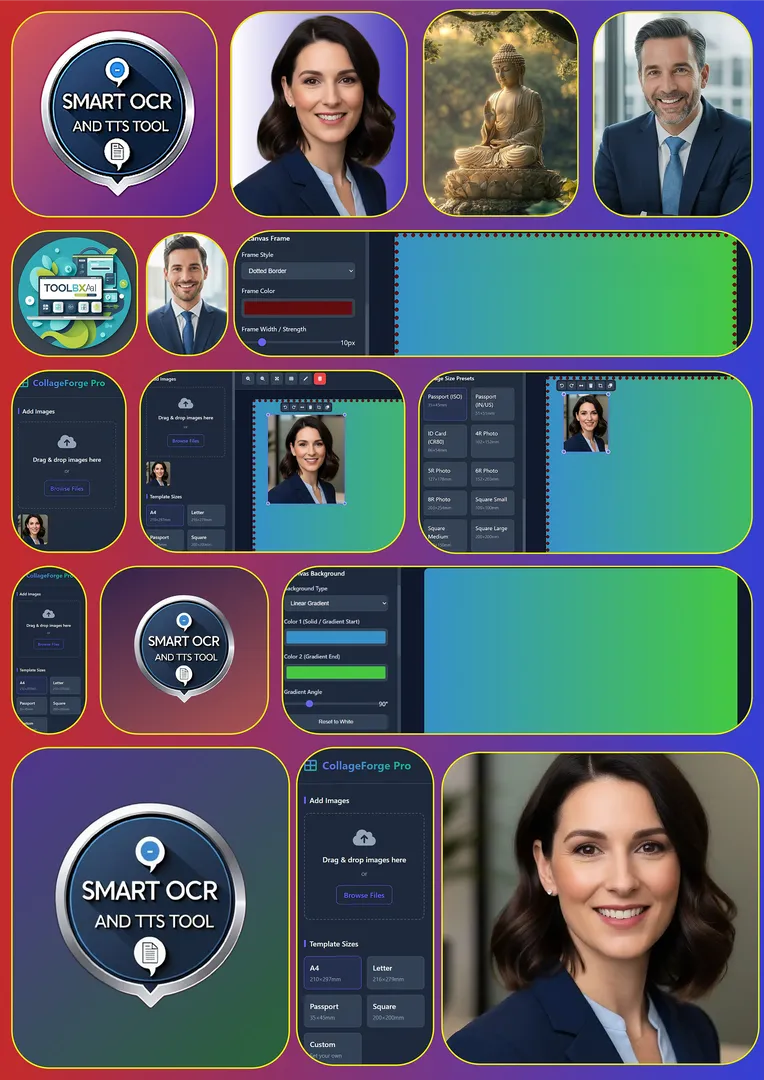
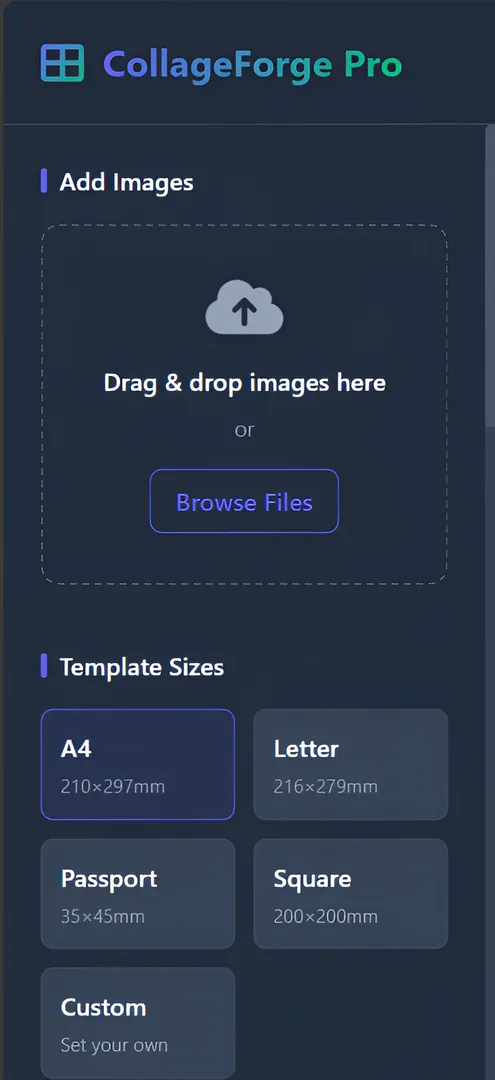
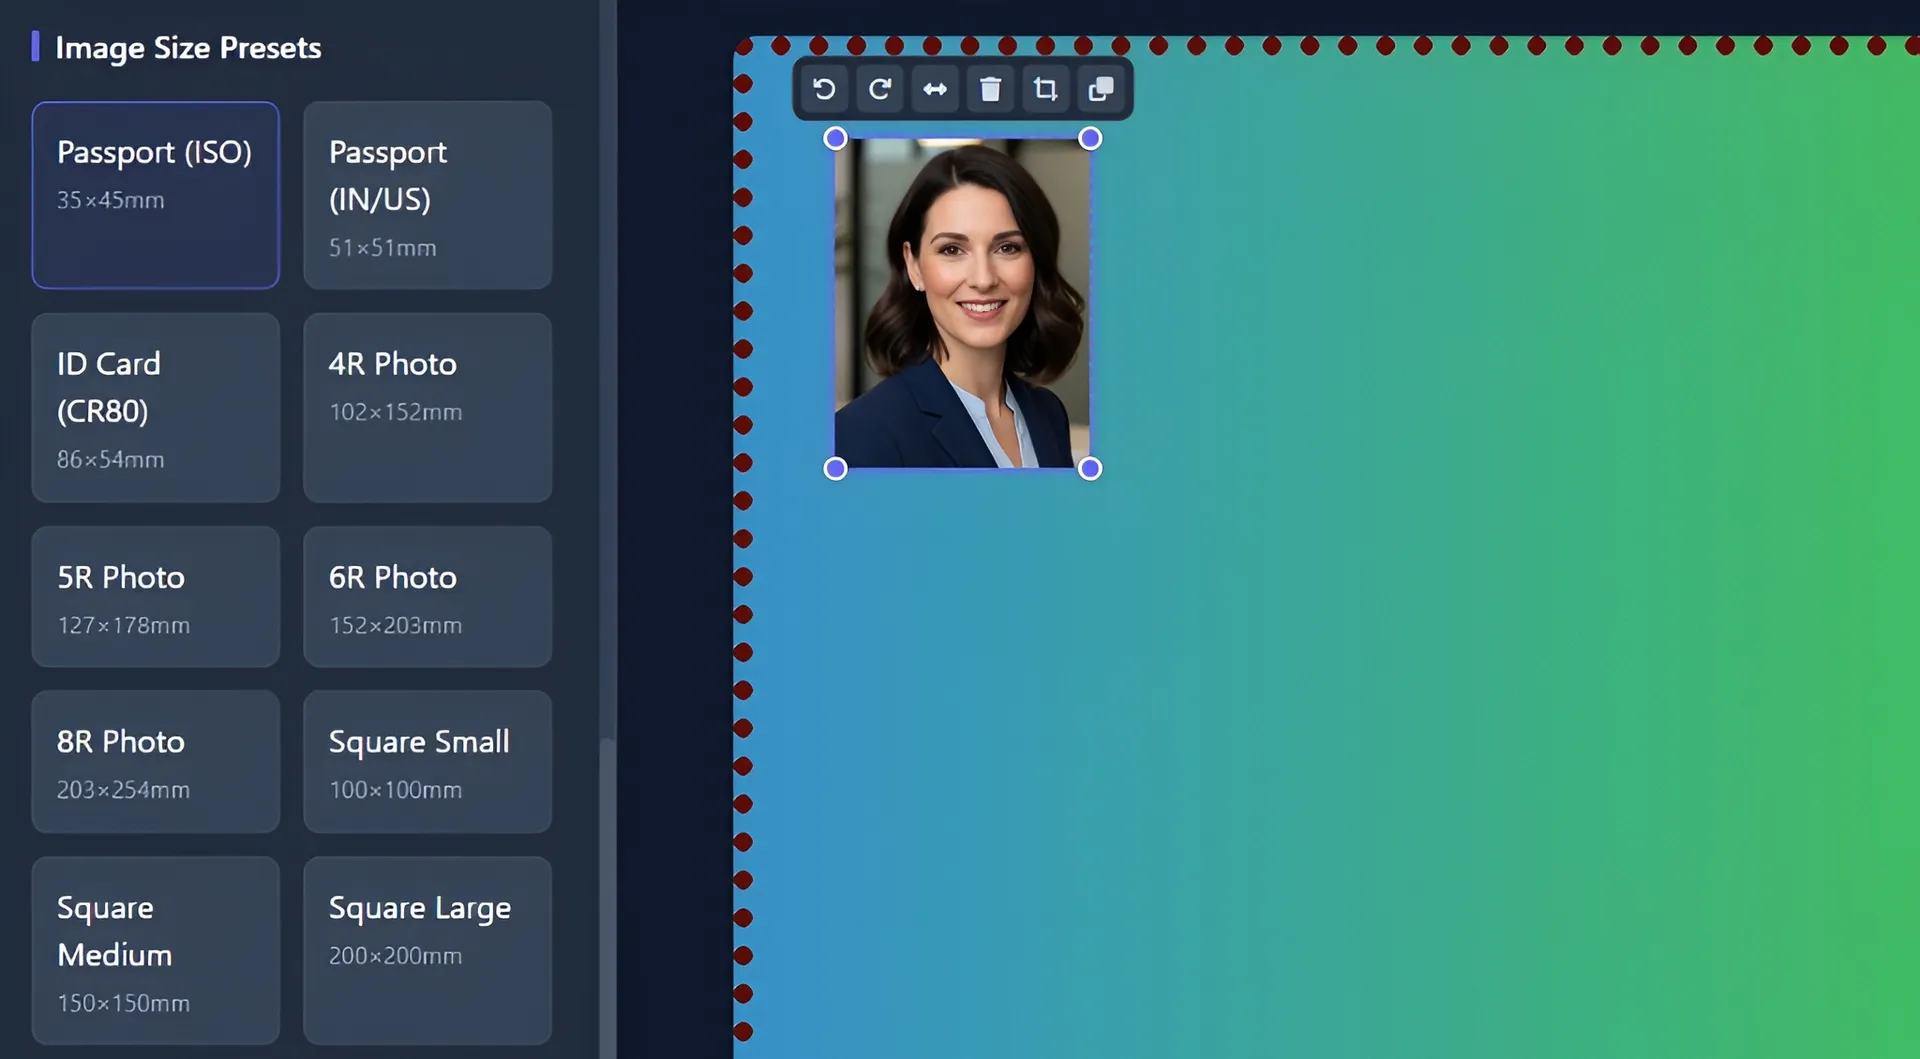
Open Color Grader ProCreate print-ready photo collages with precision layouts, AI background removal, and professional templates. Perfect for passport photos, ID cards, and commercial printing projects.
Pre-sized templates for A4, Letter, Passport, Square, and custom dimensions with accurate millimeter measurements.
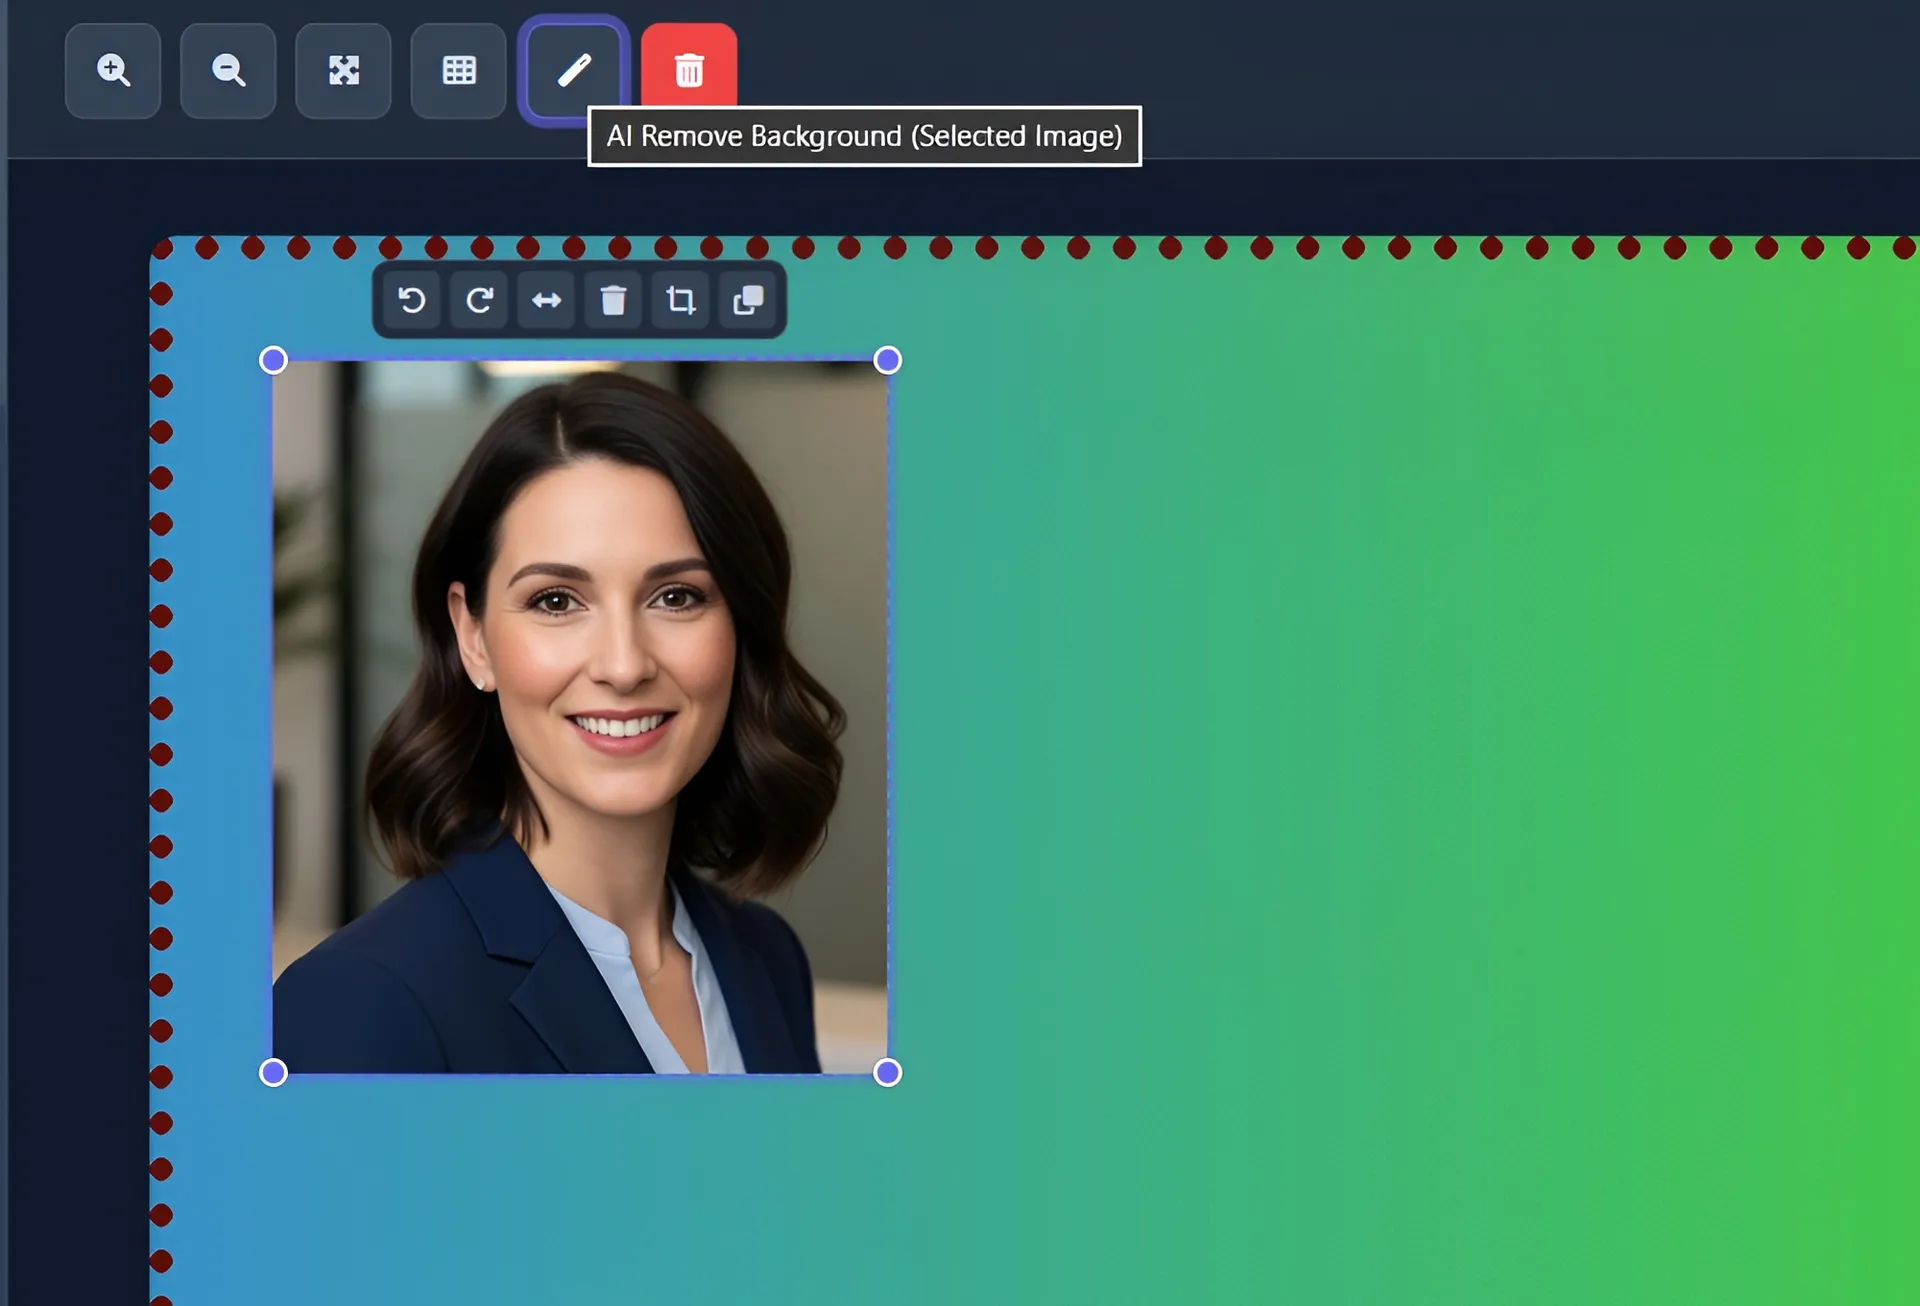
Automatically remove backgrounds from images with AI-powered processing for clean, professional results.
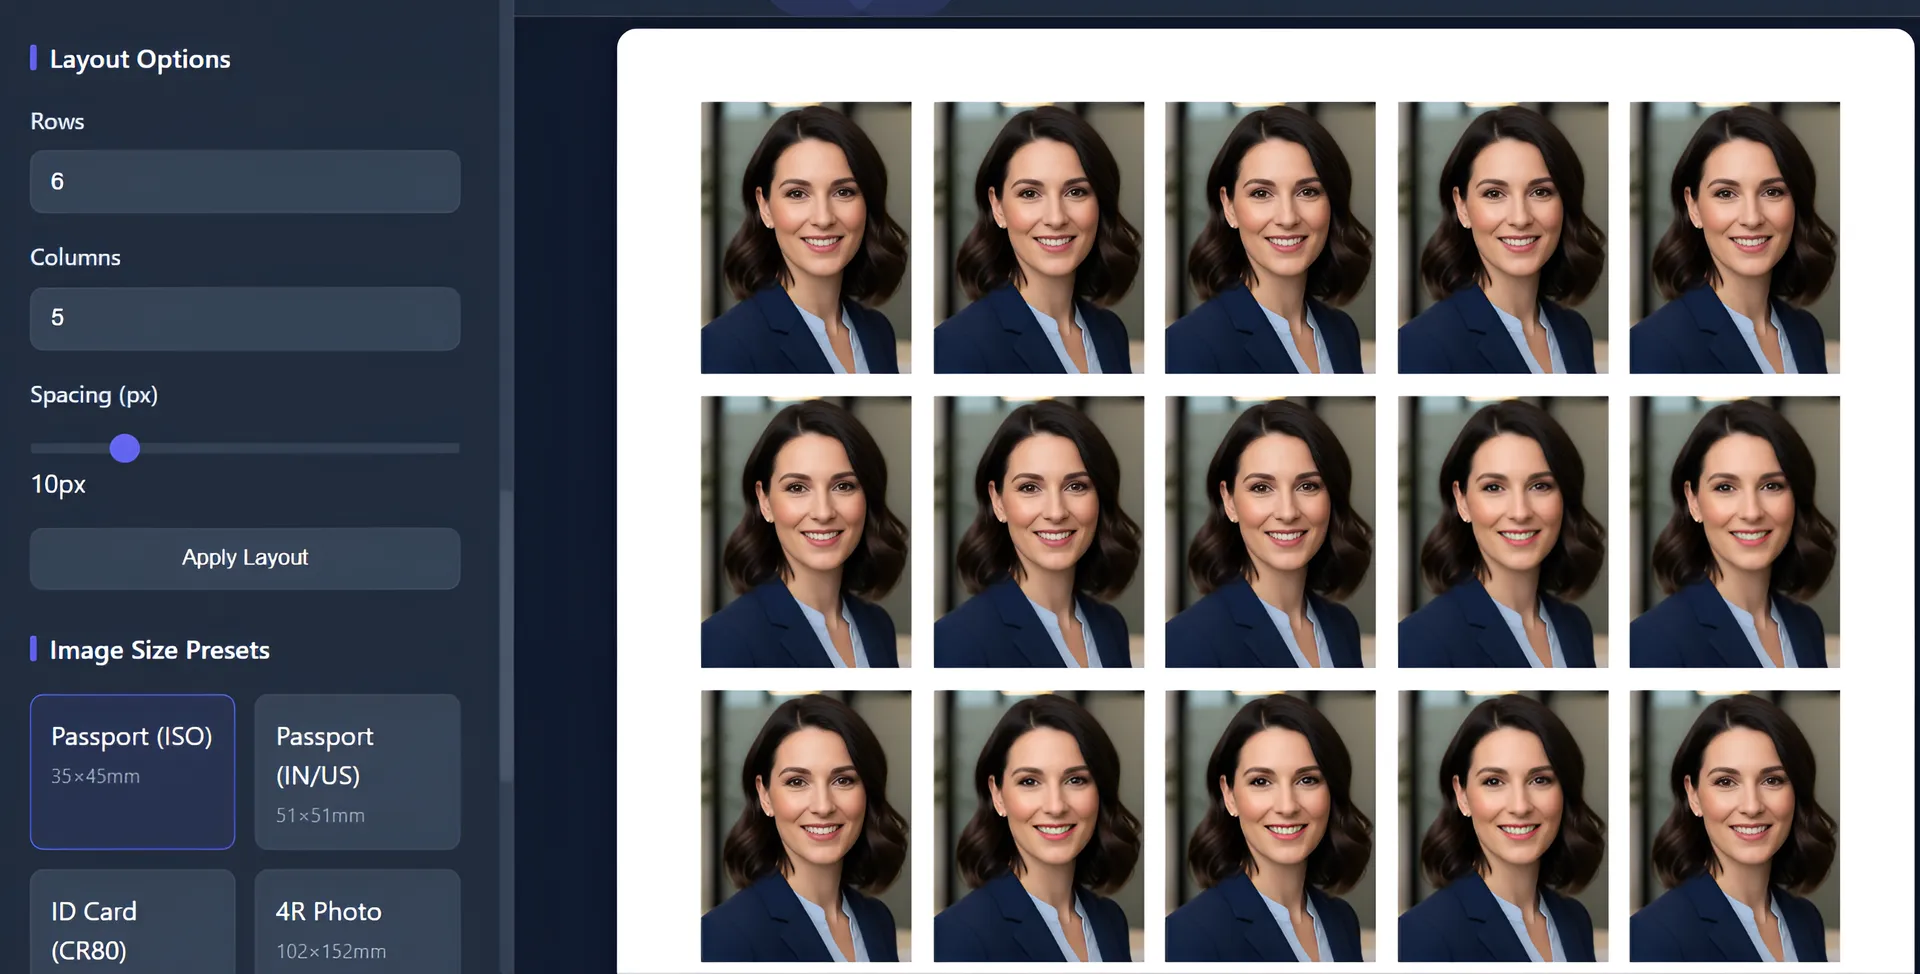
Standard photo sizes including passport (ISO & US), ID cards, and common print dimensions (4R, 5R, 6R, 8R).
Professional CMYK TIFF export for commercial printing with accurate color reproduction.
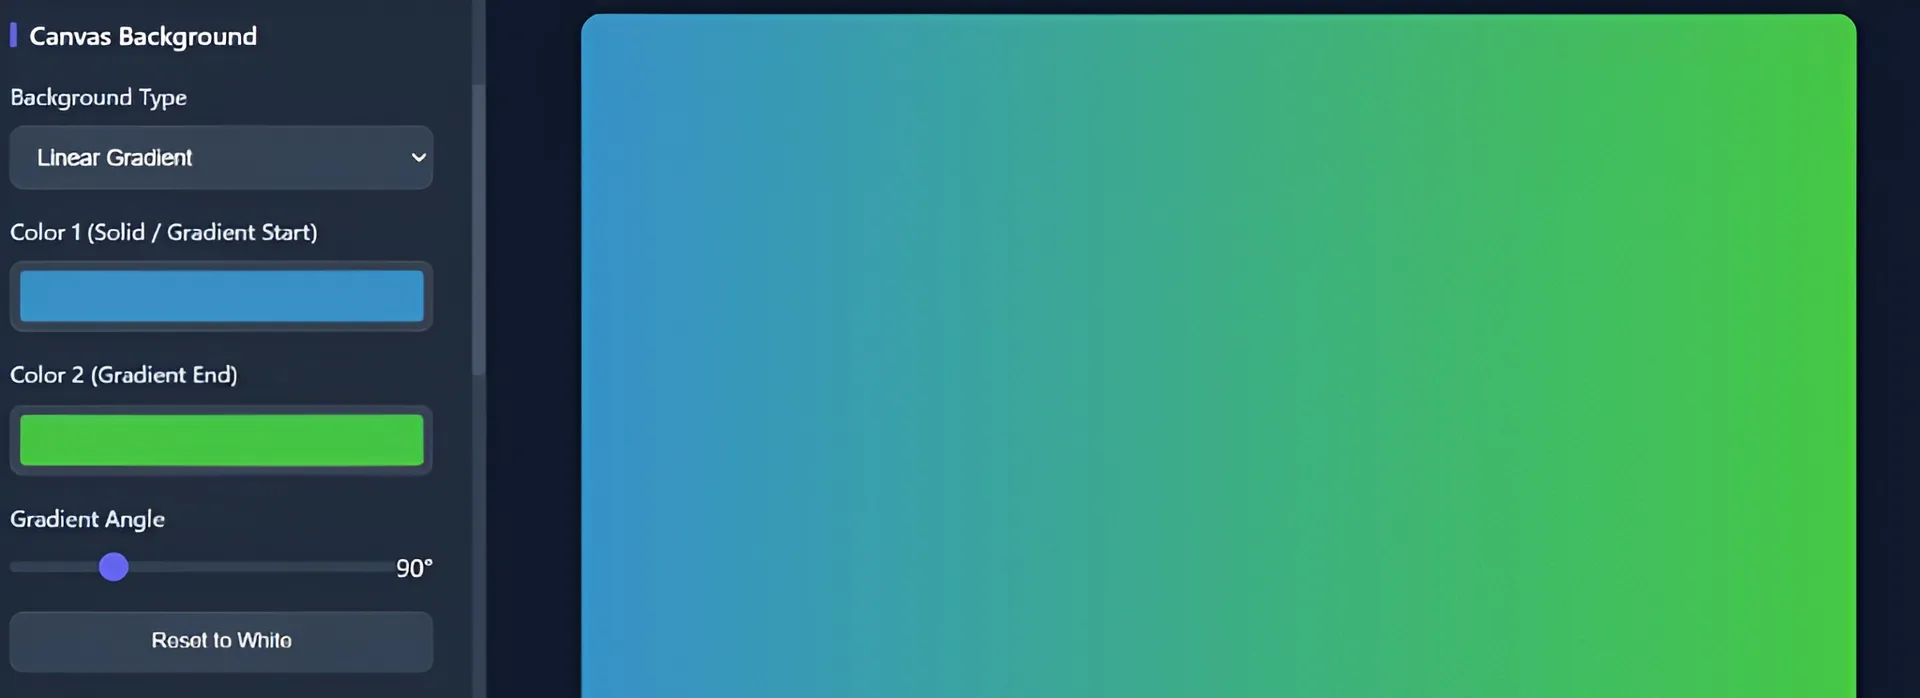
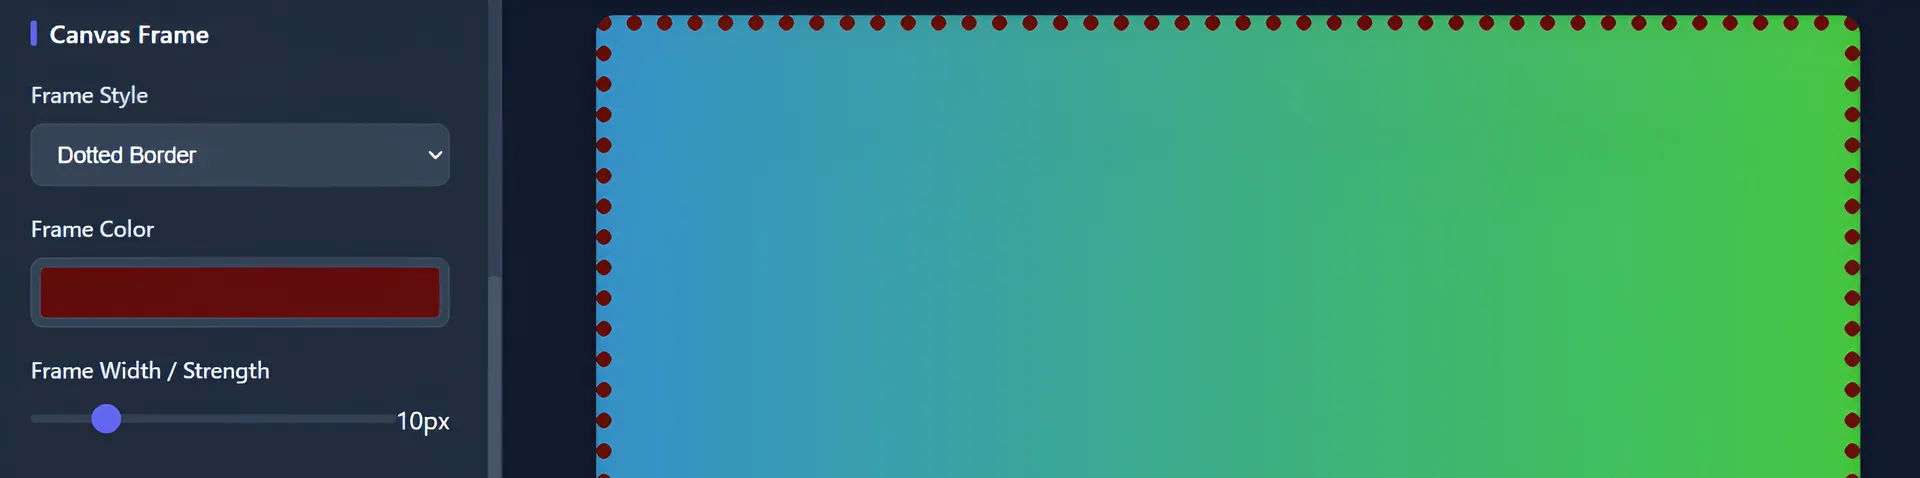
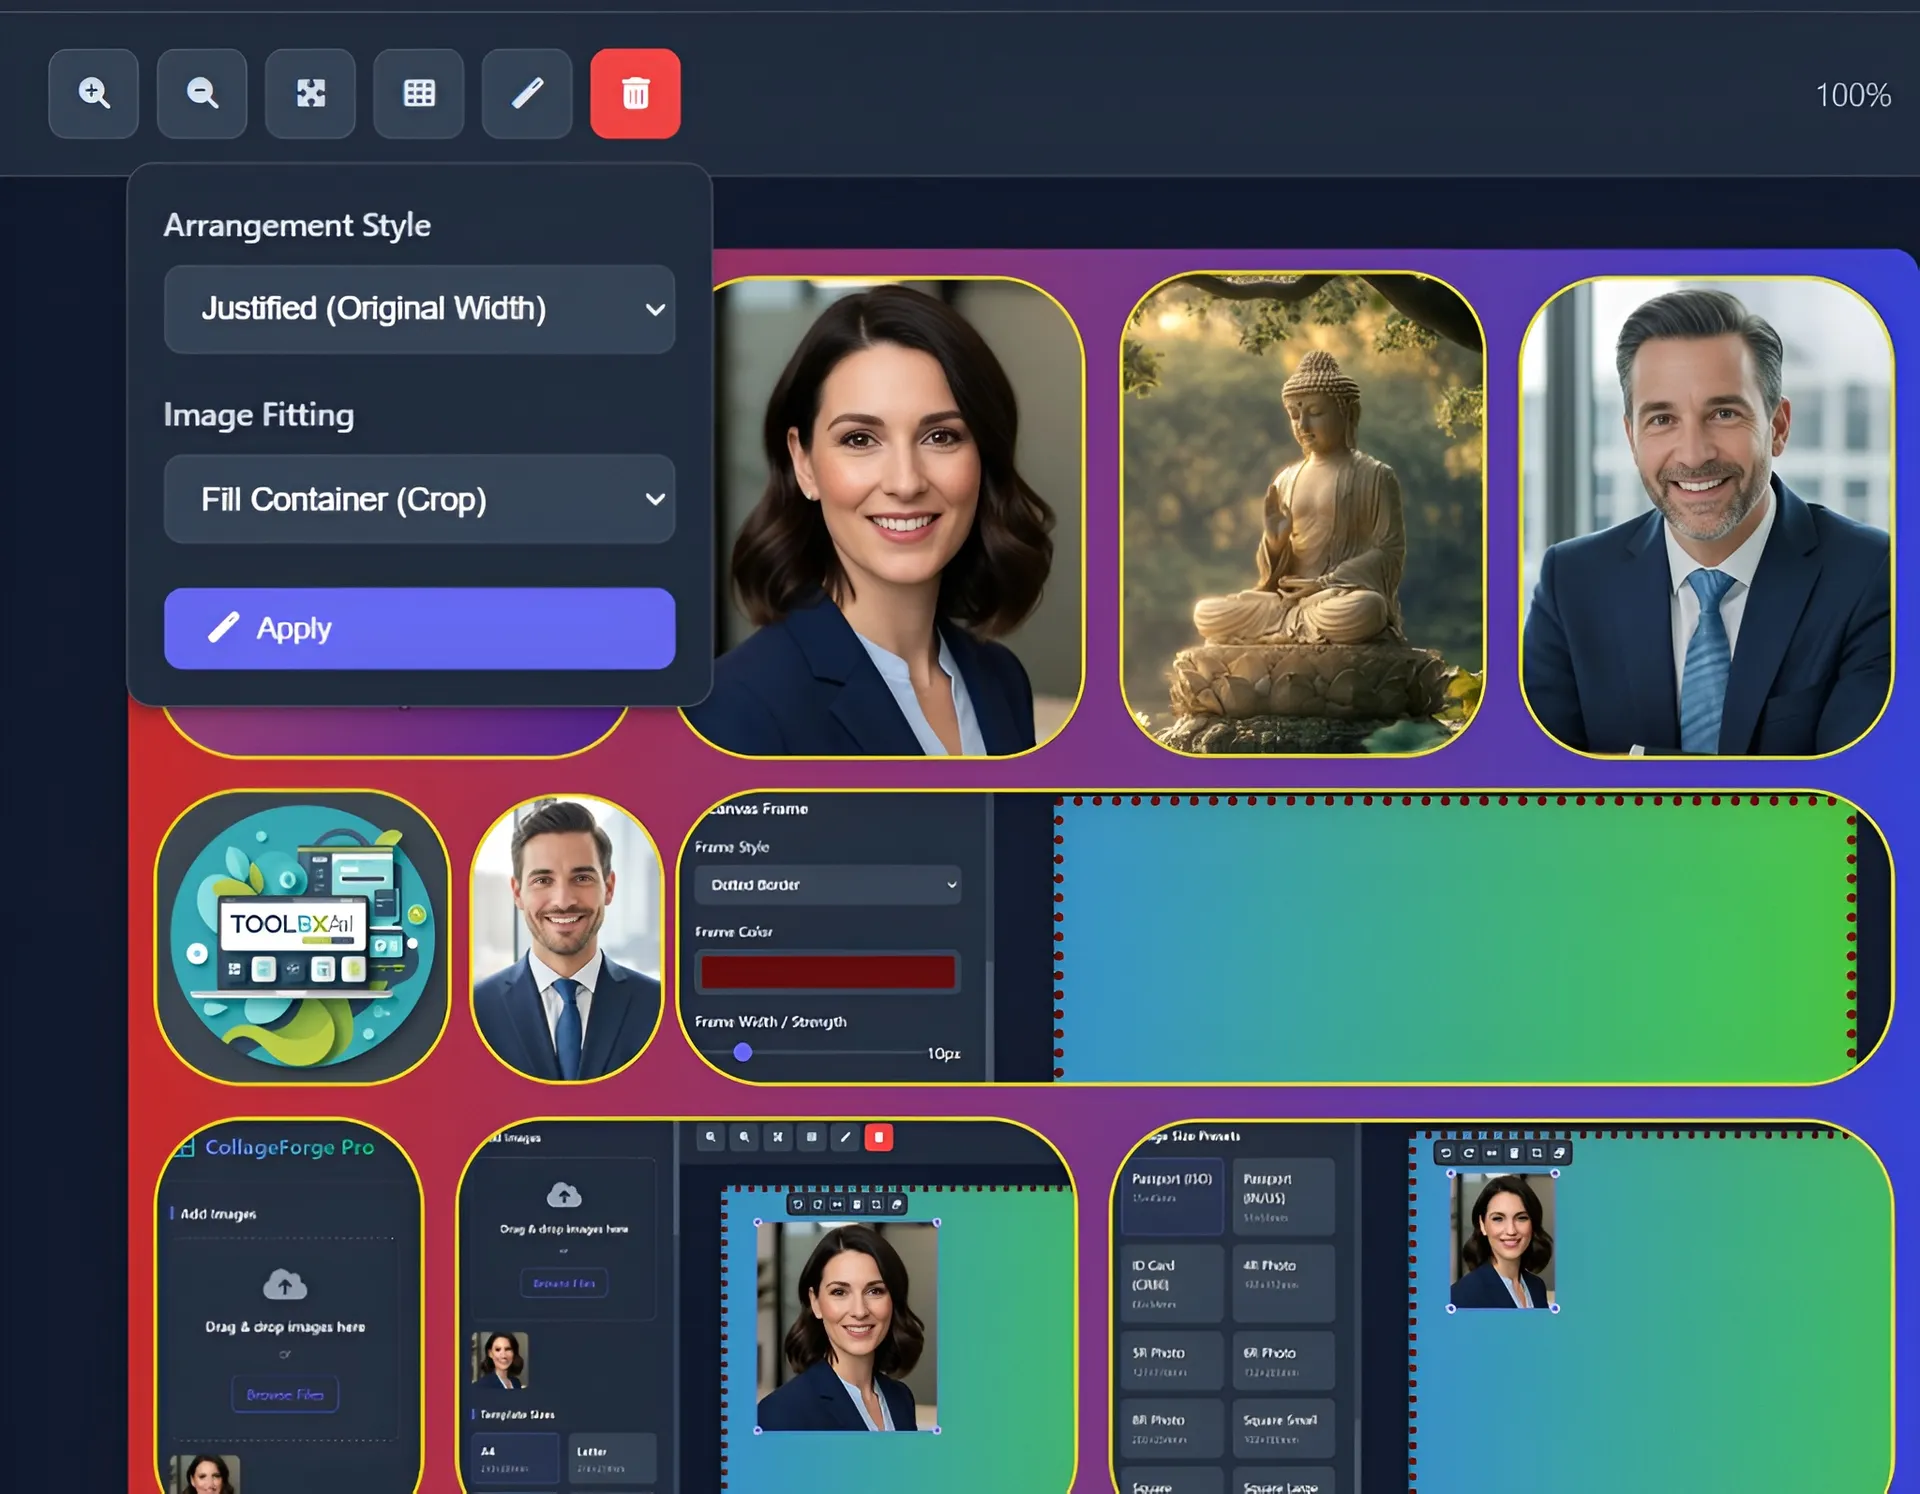
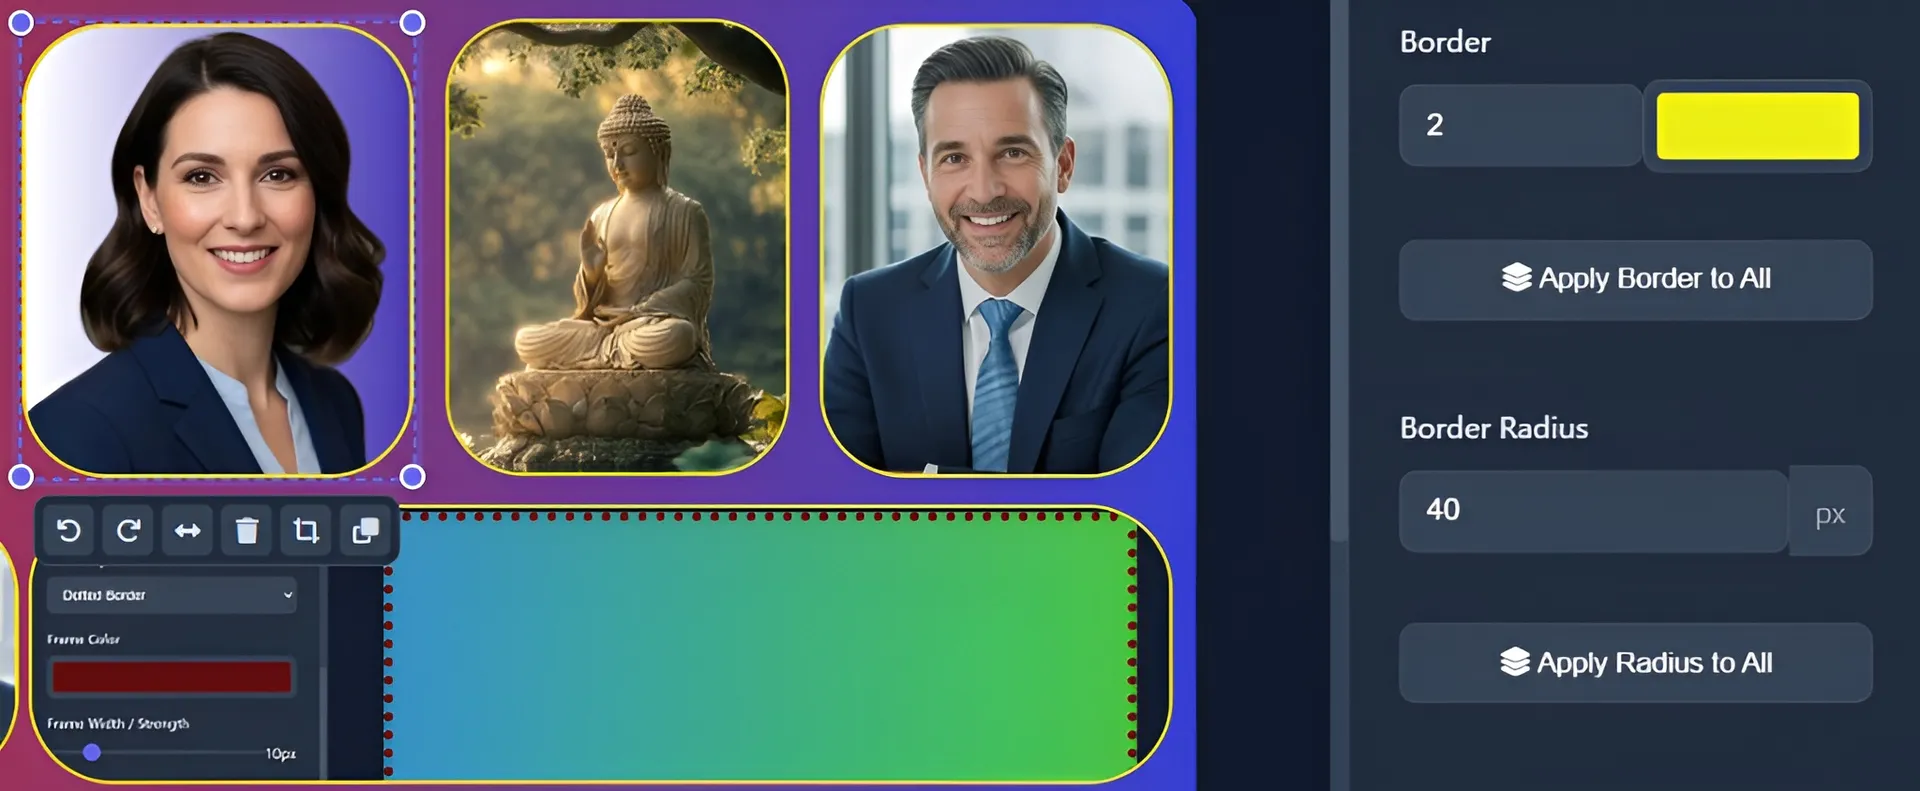
Customizable canvas backgrounds and professional frame styles including photo mats and inset shadows.
Lock page scrolling for focused work and use pixel-perfect movement with keyboard shortcuts.
Select from professional templates in the sidebar:
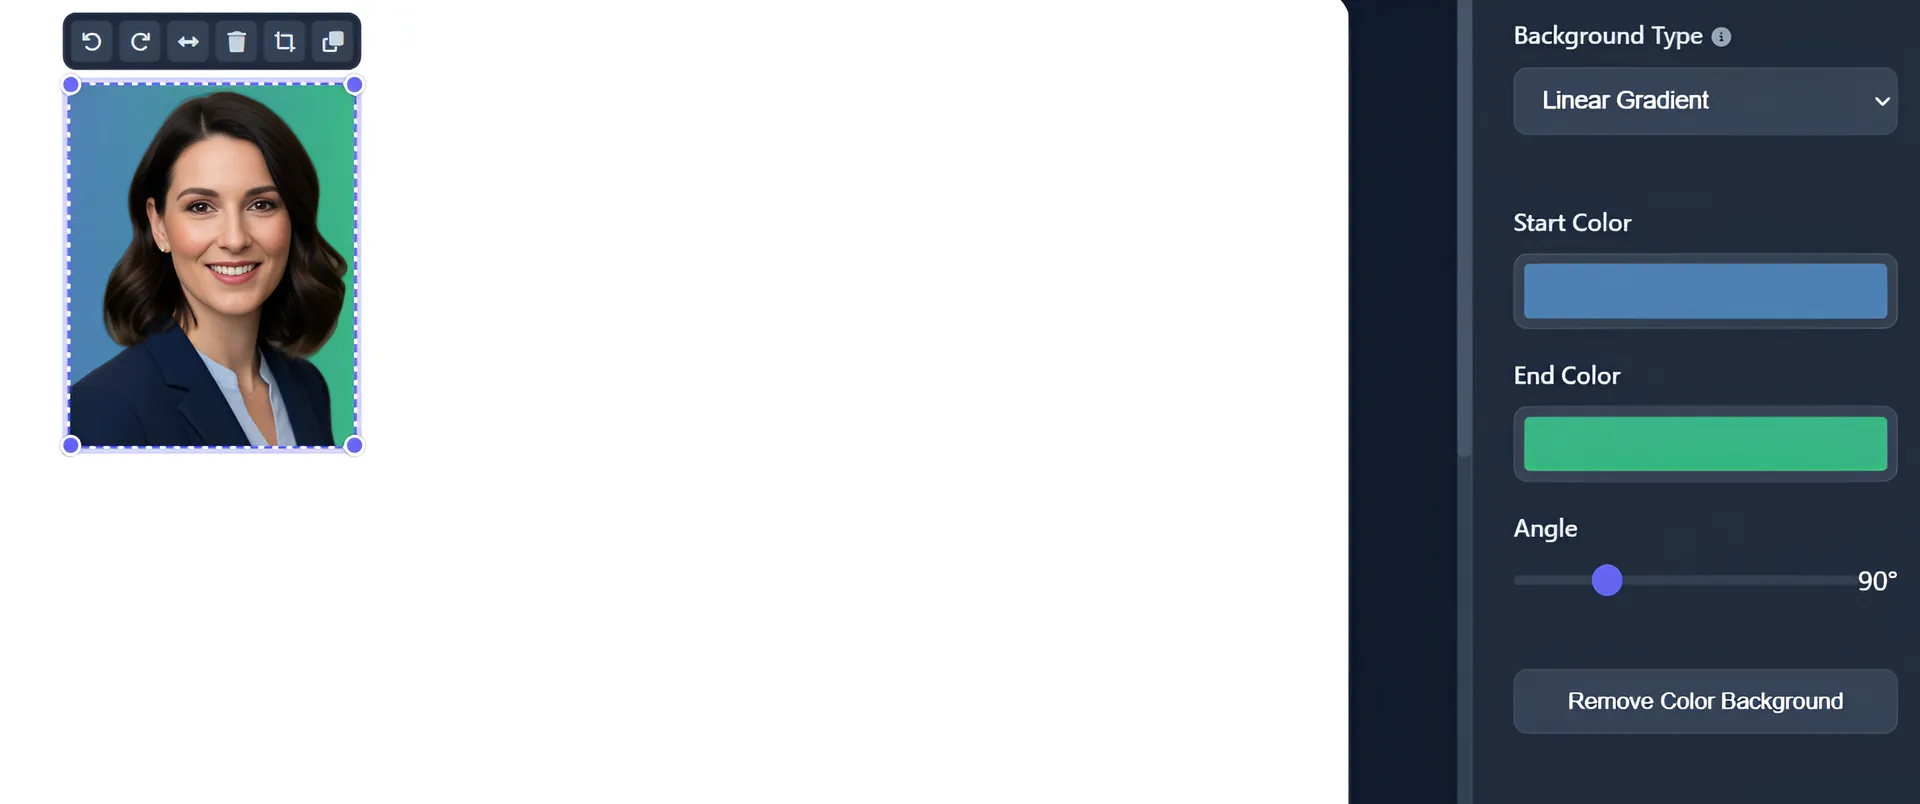
Set up your canvas with professional backgrounds:
Enhance your collage with professional frame styles:
Add images to your project:
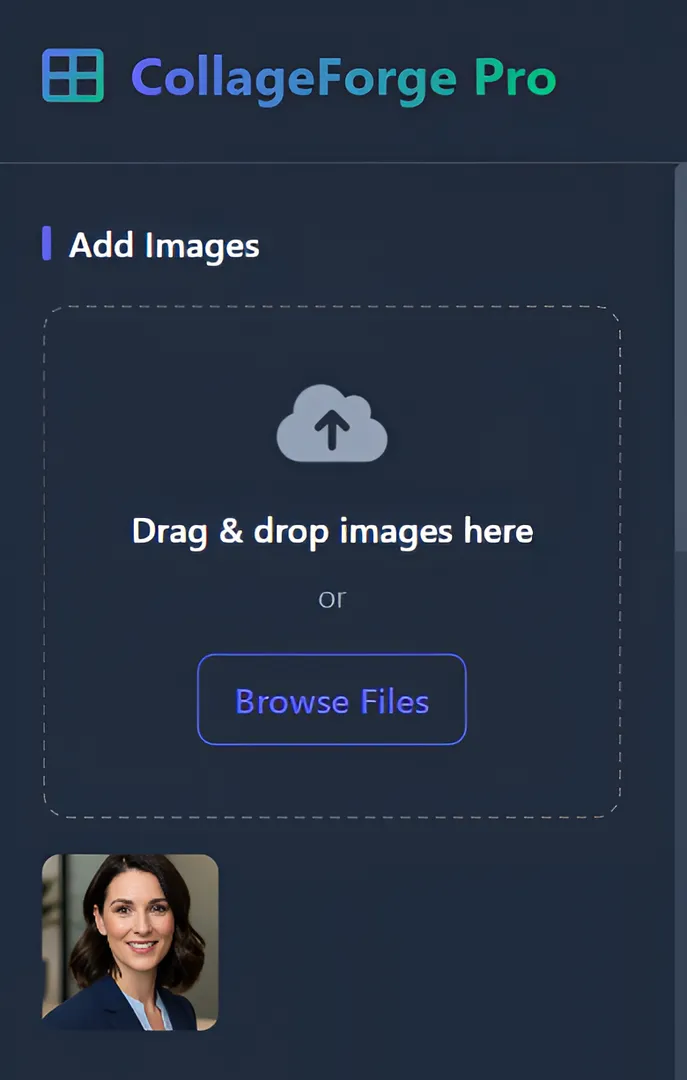
Click on any thumbnail in your library to add it to the canvas. The image will be placed with your selected size preset or a default size.
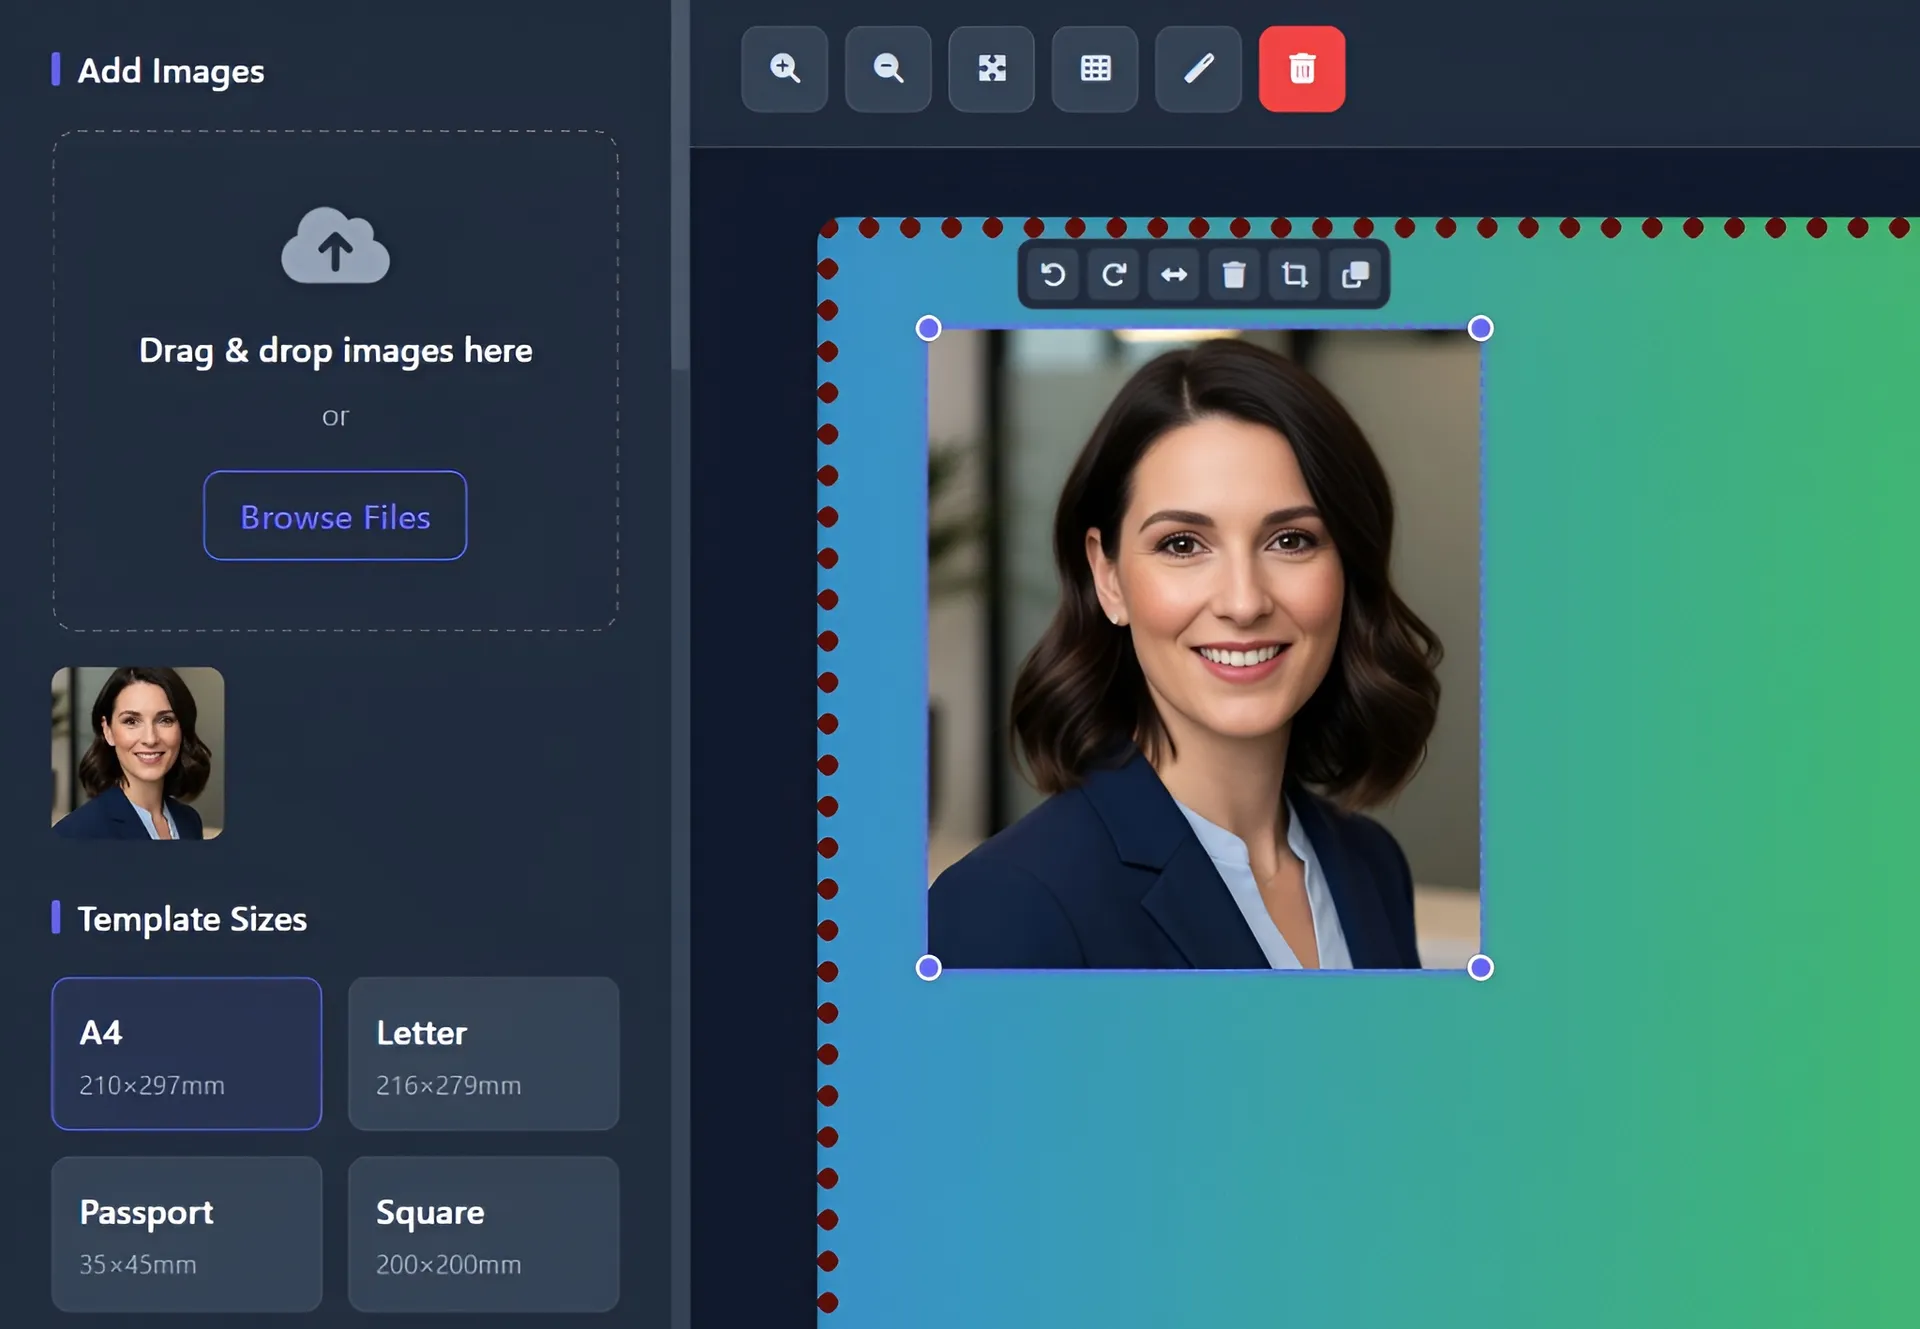
Choose from comprehensive size presets:
Use the scroll lock feature for uninterrupted editing:
Use the auto-arrange tool for perfect layouts:
Select any image on canvas to access professional editing tools:
Remove backgrounds automatically with advanced AI:
Add professional backgrounds to individual images:
Use batch operations for consistent styling:
Build organized multi-image layouts:
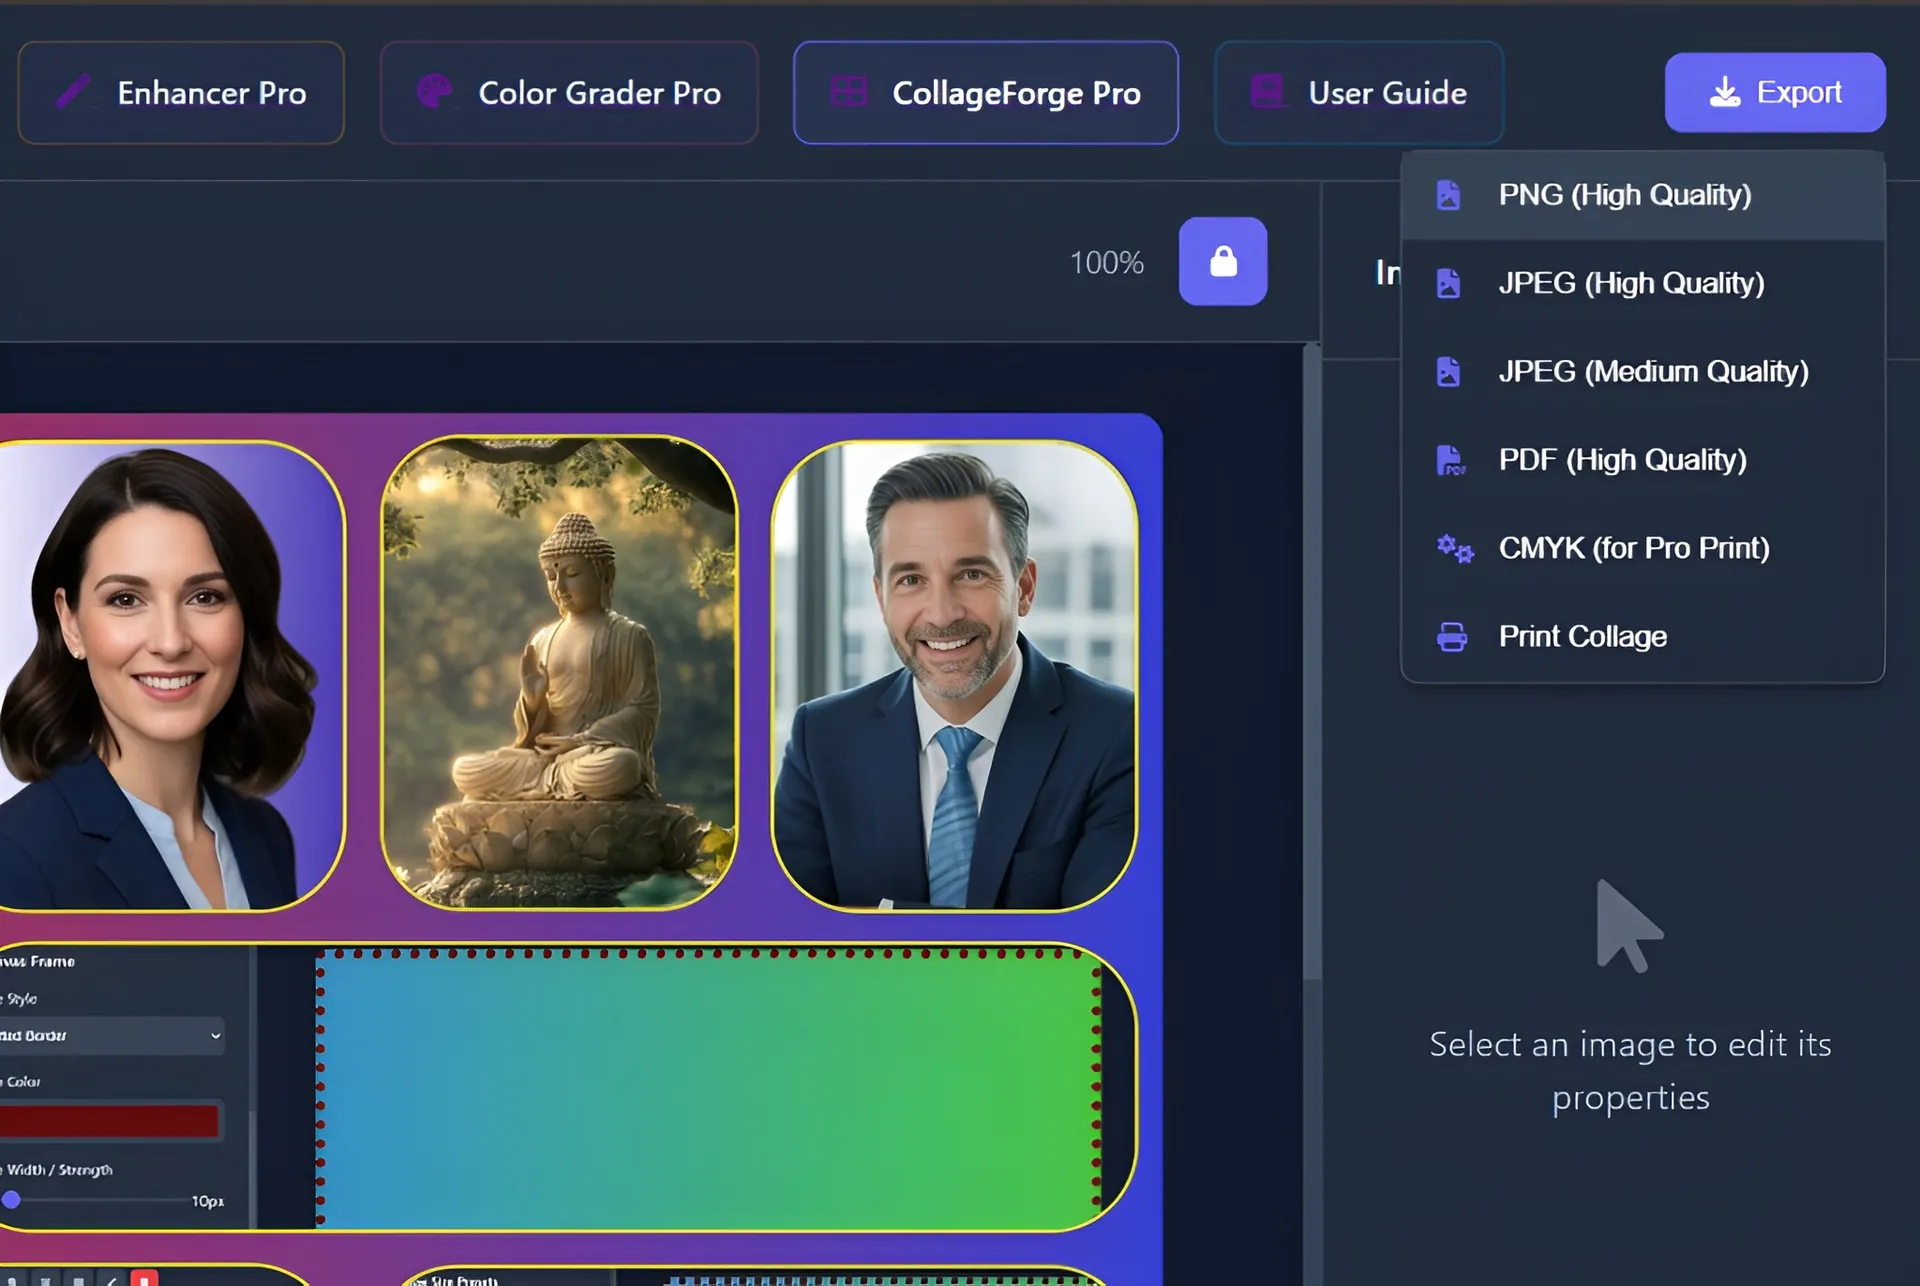
Choose from comprehensive export options:
Ready to create professional photo collages?
Open CollageForge ProBoth tools support JPG, PNG, WebP, AVIF, HEIF and TIFF formats for input and output.
Yes, individual files are limited to 10MB. For Compressor Pro, you can process up to 5 files at once.
Resizer Pro processes images entirely in your browser - nothing is uploaded. Compressor Pro may use server-side processing for larger files when available, but you'll be notified if this happens.
The tools automatically correct EXIF orientation data from cameras. If it's wrong, use the rotate buttons in Resizer Pro to adjust manually.
In Compressor Pro, check "Maintain Aspect Ratio". In Resizer Pro, leave either width or height blank and it will calculate automatically based on the other dimension.
Compressor Pro focuses on reducing file size while maintaining quality, ideal for web optimization. Resizer Pro offers precise cropping and resizing controls, perfect for preparing images for specific dimensions.
For JPEGs, 80-90% provides excellent quality with good compression. For PNGs, quality affects compression level (higher = better compression). WebP typically looks great at 70-80%.
Saturation increases the intensity of all colors equally, while vibrance is a smart adjustment that primarily boosts muted colors while protecting skin tones and already saturated areas.
Currently, custom settings aren't saved between sessions, but you can use the undo/redo history (Ctrl+Z/Ctrl+Y) during your editing session. We're working on custom preset saving for future updates.
Different devices and browsers may display colors slightly differently. For consistent results, we recommend calibrating your monitor and checking the enhanced image on multiple devices if color accuracy is critical.
Enhancer Pro focuses on overall image enhancements like brightness, contrast, and filters. Color Grader Pro provides advanced, precise color adjustments with layer-based controls, targeted color selection, and professional grading tools similar to those used in video and photo editing software.
Adjustment layers allow you to make non-destructive color changes. Each layer can have its own settings and affects the layers below it. You can reorder layers, adjust their opacity (blend amount), use different blend modes, and toggle visibility. The base layer is always applied first, followed by adjustment layers from bottom to top.
Currently, custom presets aren't saved between sessions, but you can use the undo/redo history (Ctrl+Z/Ctrl+Y) during your editing session. We're working on custom preset saving for future updates.
Using multiple layers allows you to isolate different adjustments. For example, you might have one layer to adjust skin tones, another to enhance skies, and a third to add overall color correction. This approach gives you more control and flexibility than trying to do everything with a single set of adjustments.
CollageForge Pro is specifically designed for print-ready photo collages with precise millimeter measurements, professional size presets, AI background removal, and CMYK export capabilities. It's optimized for passport photos, ID cards, and professional printing rather than casual social media collages.
Use CMYK export when sending files to professional printers or print shops, as CMYK is the standard color model for commercial printing. Use PNG/JPEG for web use, personal printing, or when color accuracy isn't critical. CMYK ensures colors will print correctly on professional equipment.
Yes! CollageForge Pro is perfect for passport photos. Use the Passport (ISO) preset for international standards (35×45mm) or Passport (IN/US) for India and US requirements (51×51mm). The auto-arrange feature can create multiple passport photos on a single sheet for printing.
Screen colors (RGB) often differ from printed colors (CMYK). For accurate results, use the CMYK export option and ensure your monitor is calibrated. Also verify that you're using the correct template size for your paper and that images have sufficient resolution (300 DPI recommended for print).
Try a different image file or check the format (must be JPG, PNG, WebP, AVIF, HEIF or TIFF).
Refresh the page and try again. Make sure JavaScript is enabled in your browser.
Check if your browser is blocking pop-ups for the site. Try a different browser if issues persist.
Try with a smaller image or reduce the output quality. Very large images may take longer to process.
Increase the quality setting and avoid extreme resizing (don't make images much larger than original).
Some formats (like PNG) support transparency which may be lost when converting to JPEG. Try PNG or WebP if colors look wrong.
Need further assistance? Here's how to reach us:
Contact us at Contact Us page for direct assistance.
We welcome your suggestions for improving our tools. Use the contact form on our website.
Found an issue? Please include browser version and steps to reproduce when reporting.
Let us know what features you'd like to see in future updates!